

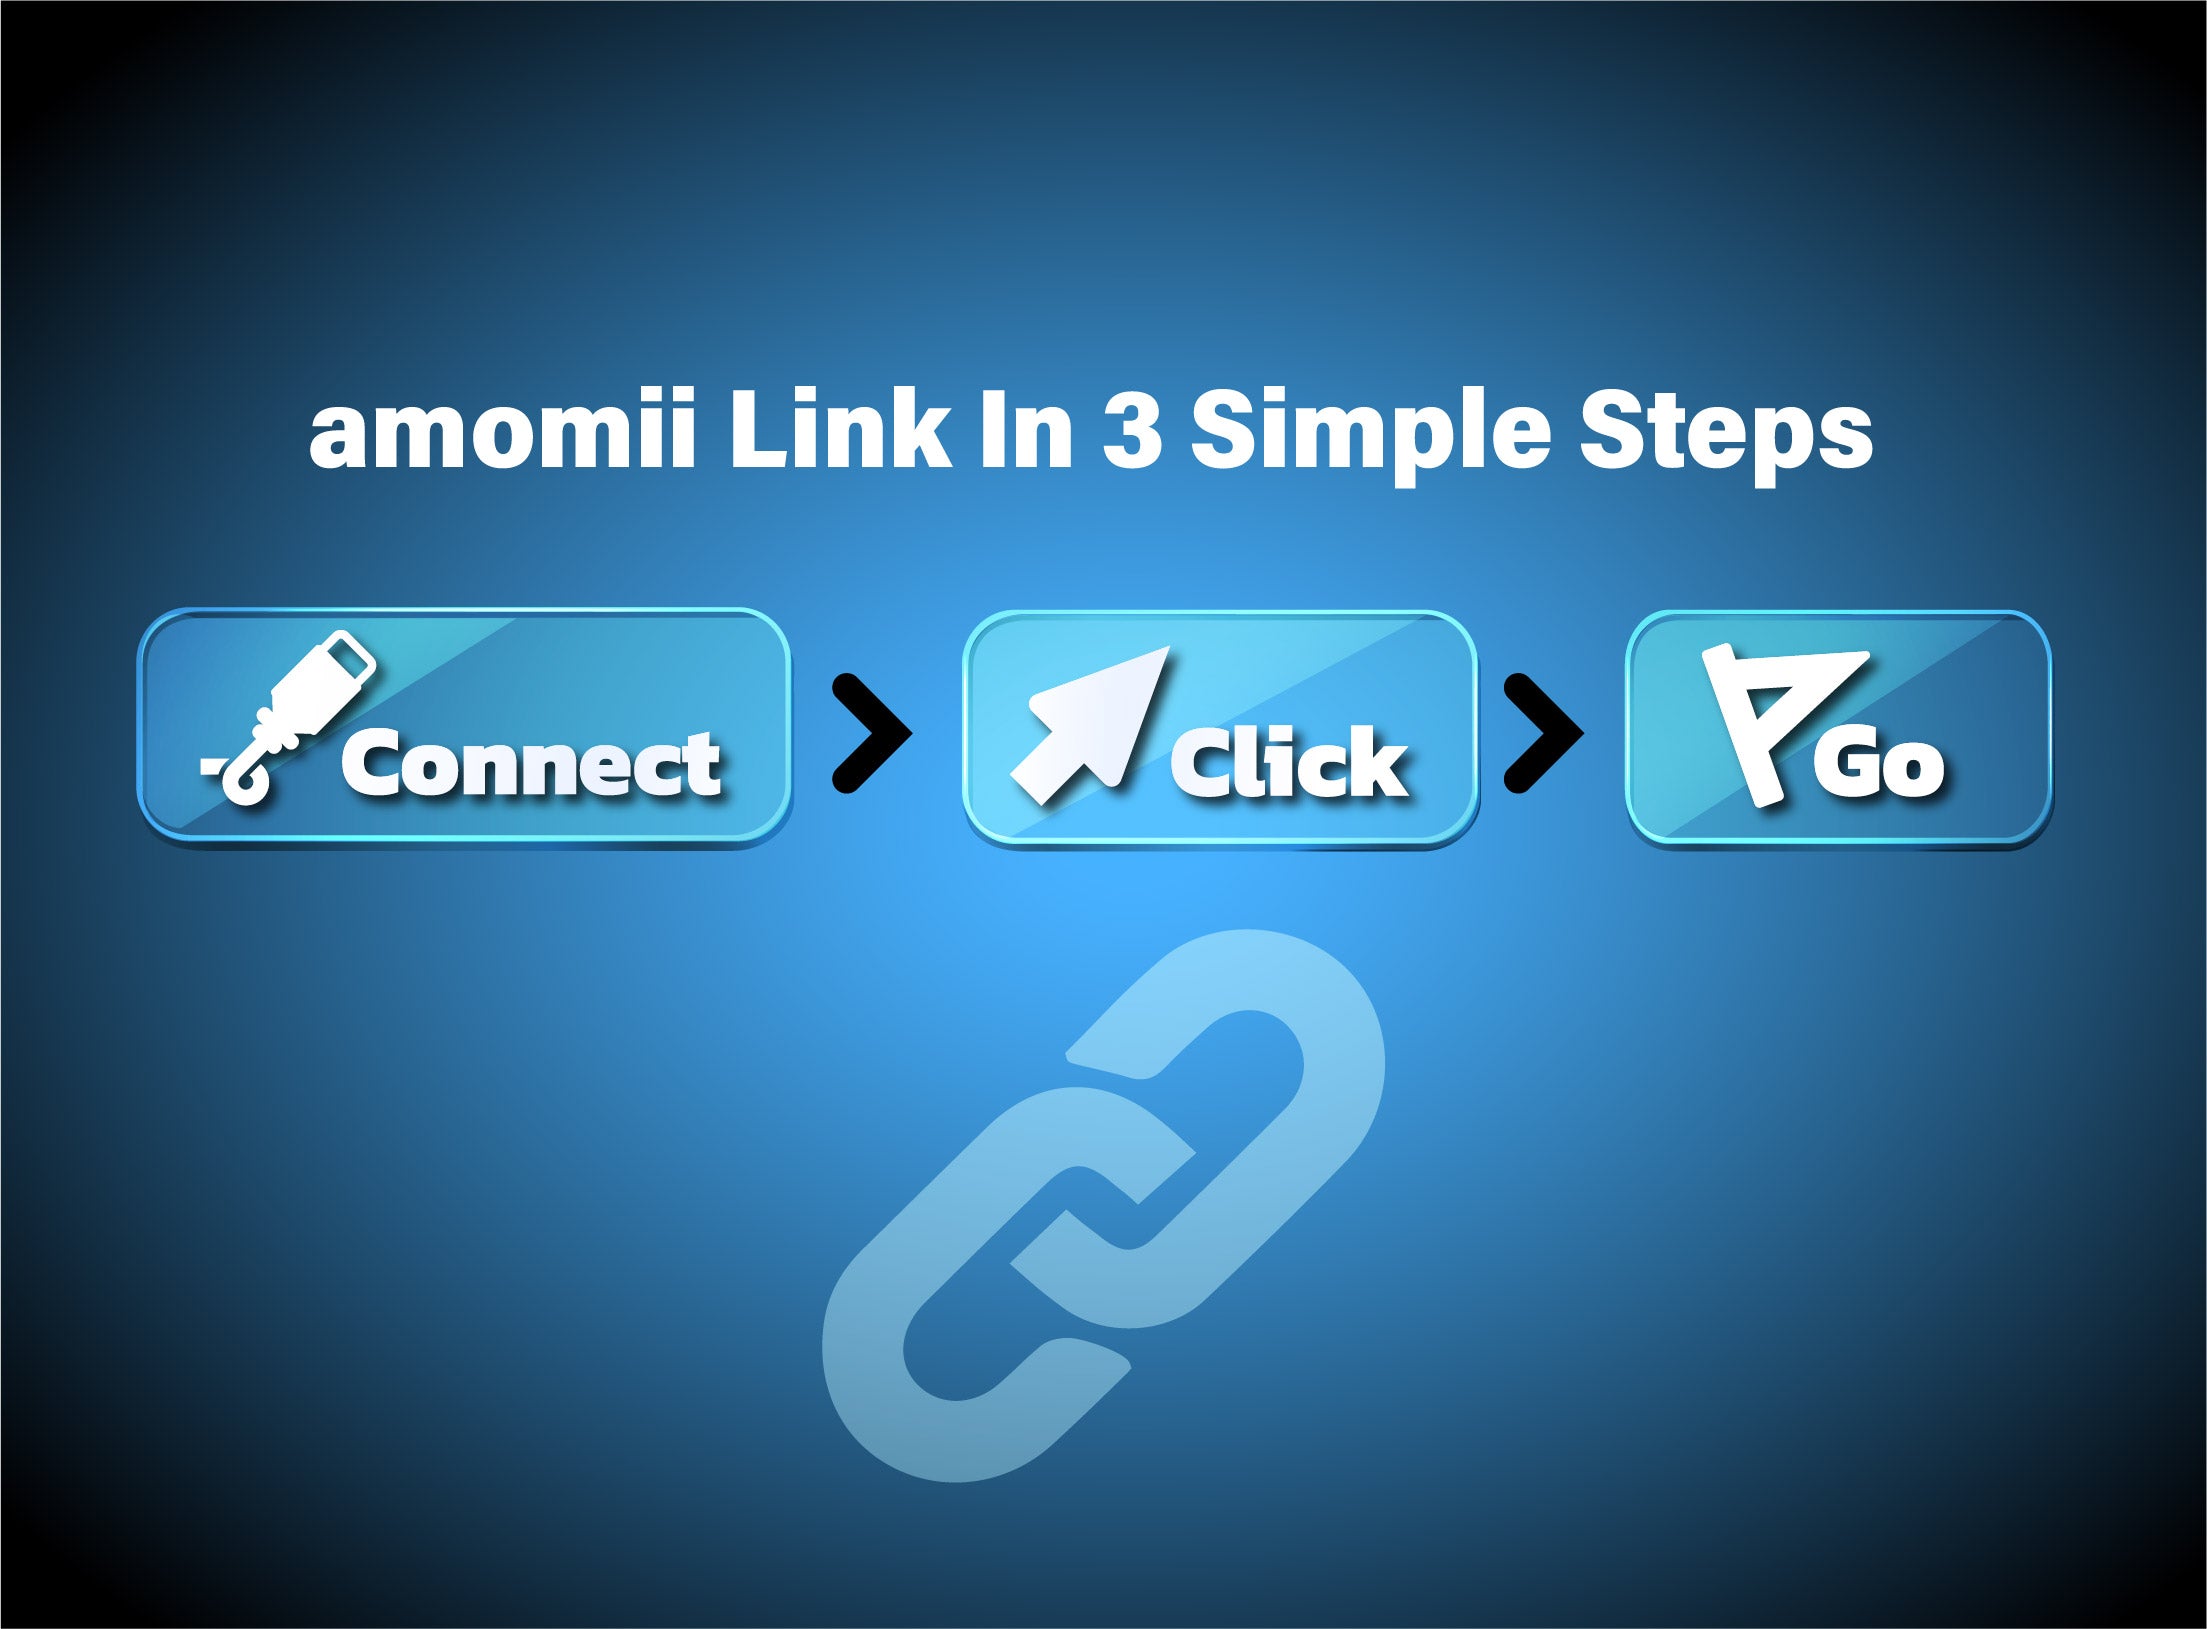
Getting Started: How to Use amomii Link
Welcome to the future of hardware interaction. If you’ve ever felt intimidated by the words "drivers," "compiling," or "IDE," you’re in the right place. amomii Link is designed to make flashing code as easy as clicking a button in your browser.
In this guide, we’ll walk you through the three simple steps to activate your hardware and get your project running.
Connect Your Hardware

Before you do anything else, grab your amomii board (or standard Arduino) and connect it to your computer or Android device using a USB cable.
Pro Tip: Make sure you are using a Data Sync cable. Some cables (like those that come with rechargeable headphones) only carry power and won't allow the browser to "see" your board. Read more about that here
Bring your project to life in a few Clicks

Once connected, head to the project page you’re working on. You’ll see the amomii Link tool (the white box with the big "Upload" button).
-
Choose the specific program you want to load (e.g., "Neon Tennis AI" or "Mini Sequencer").
-
Ensure the Upload Stability is set to "Standard" (unless you’ve had trouble before, in which case, try "Stable Mode").
-
Click UPLOAD and a small window will appear near your browser's address bar.
-
Select Your Port: Look for something labeled "USB Serial Port" or "Arduino." Click it so it's highlighted.
-
Click Connect and watch the Magic: You’ll see the progress bar start to fill up. Once it hits 100%, your board will automatically reboot and start running your new code!
A Few Quick Rules for Success
-
Stay on the Tab: Don’t close the browser tab or unplug the cable while the progress bar is moving.
-
One at a Time: Ensure you don’t have other software (like the Arduino IDE or another amomii Link tab) trying to talk to the board at the same time.
-
Chrome or Edge Only: For now, amomii Link works best in Google Chrome, Microsoft Edge, and Opera.
Need Help?
If you see an error code (like ERR-202), don’t panic! Check out our [Troubleshooting Guide] for a 60-second fix.
What are you building today? Drop a comment below and let us know!

