


Did You Know?
In 1912, thousands of women took to the streets of Lawrence, Massachusetts, with a demand that changed everything: "Bread and Roses." Inspired by the words of activist Helen Todd, the strikers sent a bold message that survival—the "bread"—simply isn’t enough; everyone deserves the right to thrive and find beauty—the "roses." This week, we’re honoring that spirit with a craft that is a literal lesson in perspective! We’ve designed a custom Infinity Folder that takes a "basic" flat surface and unfolds it to reveal the layers of beauty hidden within—because why settle for just survival when you can have the roses, too?
When to Celebrate
International Women’s Day is celebrated annually on March 8th. This date was chosen to commemorate the 1917 strike by women textile workers in Petrograd, Russia, which sparked the Russian Revolution. Following the strike, the provisional government granted women the right to vote. While the day had been observed in various forms earlier in the early 20th century, March 8th became the global standard to honor the ongoing struggle for women's rights, equality, and justice.
The Toolkit
To build your 4-Image Fold, gather these supplies:
-
The amomii Template: [GET THE FREE TEMPLATE HERE]
-
Cardstock or A4 Paper: (Use thicker paper for a stronger, more satisfying "flip!")
-
Glue or Double-Sided Tape
-
Scissors or Craft Knife: (Safety First: Always ask an adult for assistance when using sharp cutting tools.)
The Build: Step-by-Step
Phase 1: Creating the Recatangle
1. Print and Prepare: Print all template pages onto A4 paper. For best results, use thicker cardstock to improve durability and folding performance.

2. Precision Cutting: Carefully cut along all the solid lines using your scissors or craft knife to form rectangular pieces. Avoid cutting the dotted lines—those are your fold guides!

3. Match and Attach: Align the two printed sheets by following the arrow symbols shown on the template. Glue or tape them together carefully to create one combined layout.

4. Create the Window Opening: Cut along the inner rectangle to remove the center section, forming a rectangular opening (like a frame).

Phase 2: Folding Structure
5. First Fold:Fold and glue the left and right sides inward toward the center to form a long rectangle.
- Ensure the illustrations on your image perfectly match the reference photo; correct alignment now is the key to ensuring your image flips correctly later!

6. Second Fold: Repeat the same folding process on the opposite sides, creating a smaller layered rectangle.
-
Press firmly along all folds to ensure clean edges and smooth flipping movement
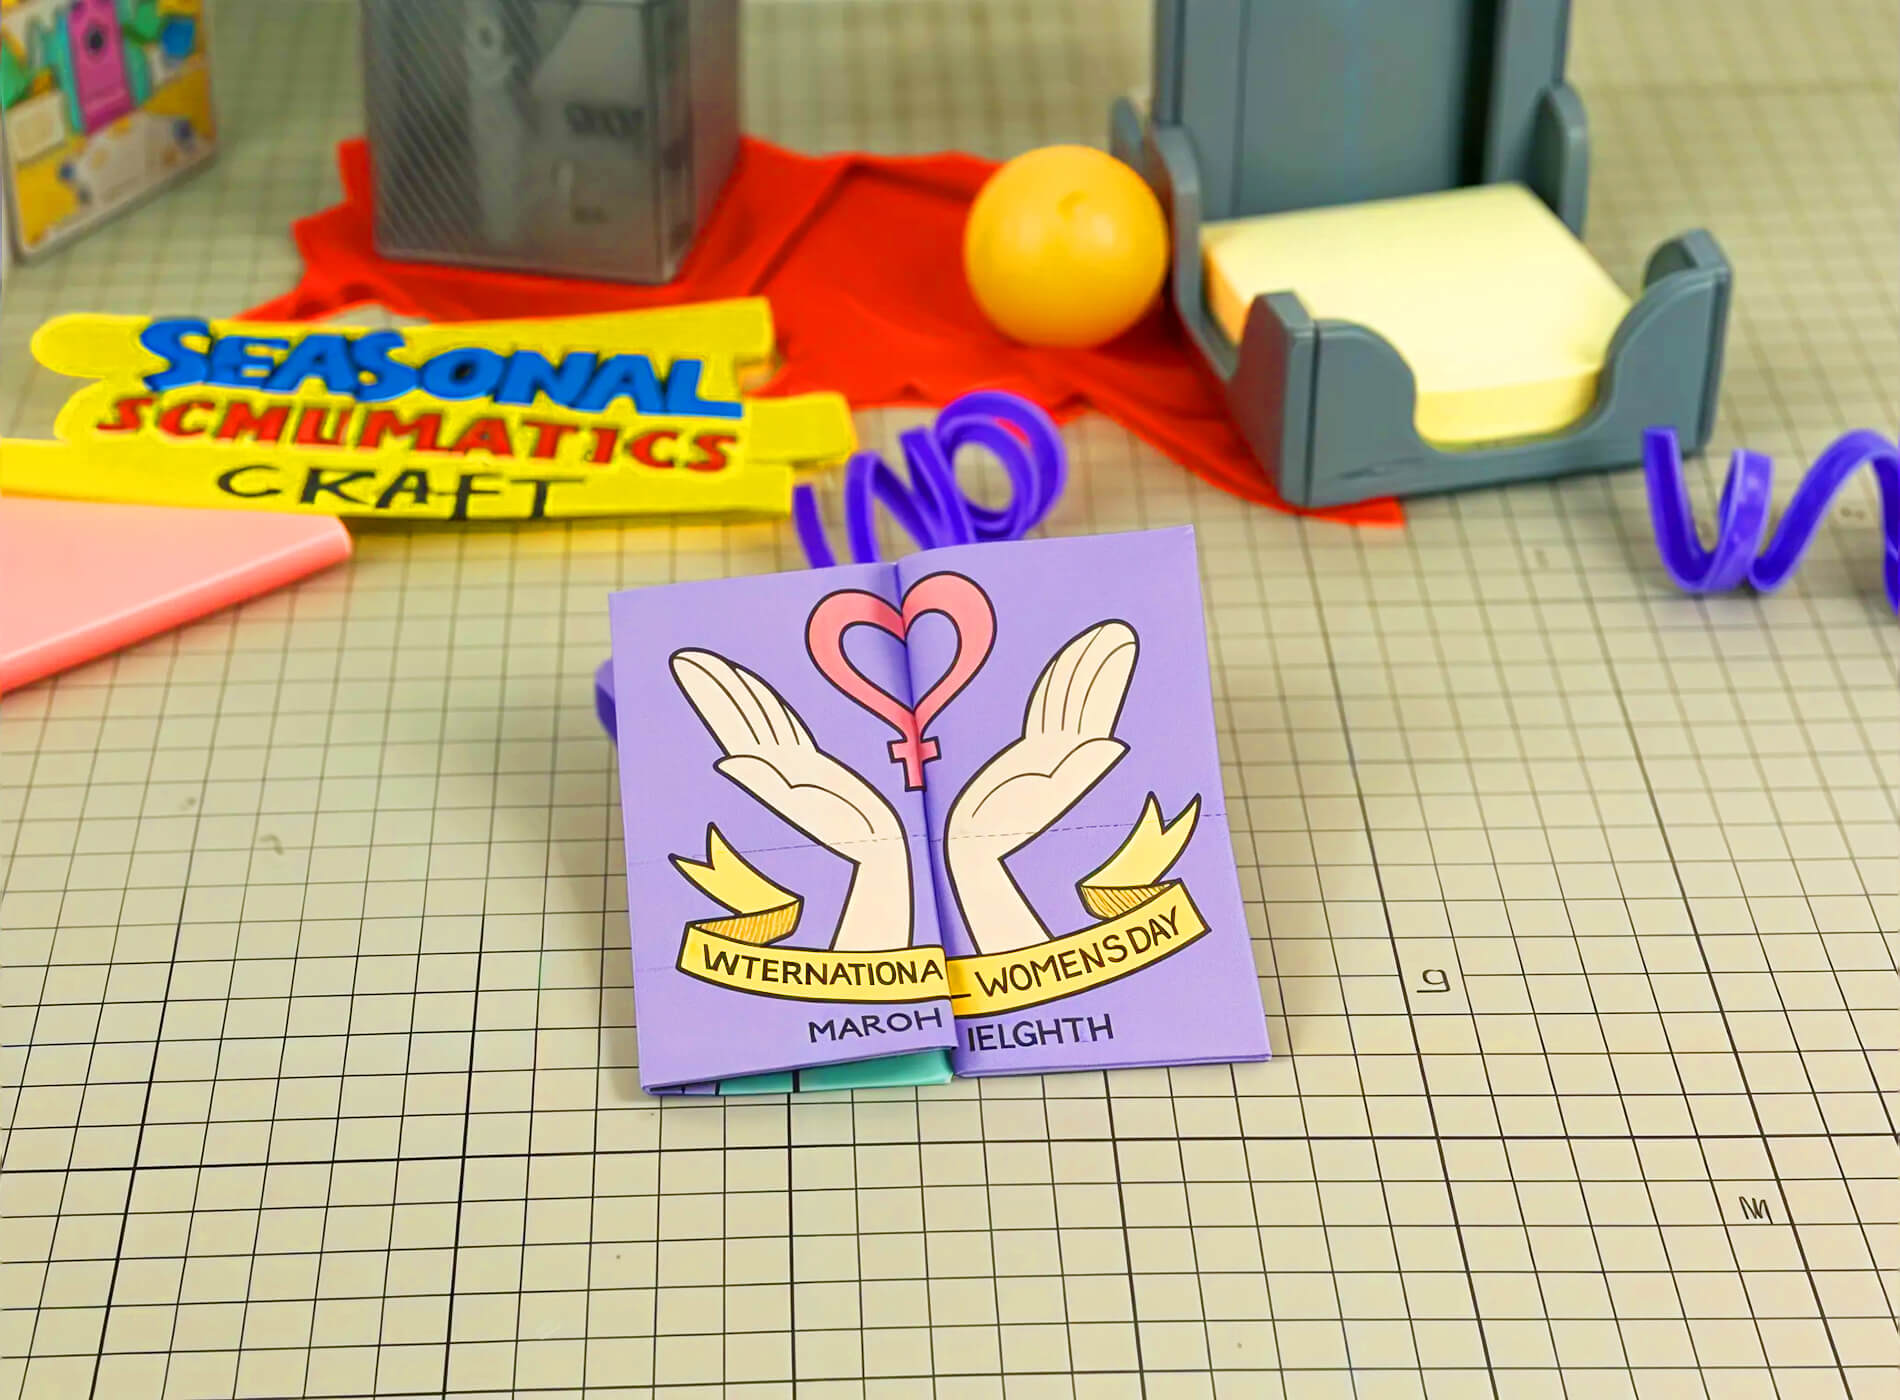
Your creation is complete!
Now flip and fold the structure to reveal all four images. Each fold presents a new design celebrating empowerment and achievement as shown below.
Success Checklist
- Fold Check: Do the panels fold smoothly in every direction?
- Alignment: Do the images align correctly after each fold? Proper alignment ensures all four designs appear clearly.
- Reveal Test: Can you flip through all four images easily without forcing the paper? The structure should transition naturally between each image.
- Structure Check: Does the craft hold its shape after folding and unfolding? Make sure all glued sections are securely attached.
Sign up for free weekly templates delivered to your inbox. Unsubscribe at any time.
[GET THE FREE TEMPLATE HERE]
Show us your 4-Image Fold!
Drop a comment below or share a video of your "4-Image Fold" to Instagram or TikTok and tag us with #amomiiSSC. We’d love to see your creativity in action!
PROJECT CREDITS
- amomii Lead: Shaun
- Illustration: Steve
- Graphics & Templates: Kelly
- Video & Blog Content: Cindy & Vera


