


Did You Know?
In Spain, they don’t just count down to the New Year—they eat for it! As the clock strikes midnight, it is tradition to ram twelve grapes down your throat, one for every chime of the bell. If you can finish all twelve in those twelve seconds, you’re guaranteed a year of good luck. To help you keep track of all that upcoming luck, we’ve engineered a calendar that shifts and turns just as fast as those midnight grapes!

When to Celebrate
The world hits "reset" every January 1st, but this Cubic Calendar is designed to keep you organized all year long. It’s the perfect desk companion for anyone who thinks a standard wall calendar is just a bit too... stationary.
The Toolkit
To build your Cubic Calendar, gather these supplies:
-
The amomii Template: [GET THE FREE TEMPLATE HERE]
-
Cardstock or A4 Paper: (Use thicker paper for a stronger, more satisfying "flip!")
-
Adhesive Tape: (Clear office tape works best for the hinges).
-
Double-sided Tape: (Recommended for the box assembly for instant adhesion).
-
Scissors or Craft Knife: (Safety First: Always ask an adult for assistance when using sharp cutting tools.)
The Build: Step-by-Step
Phase 1: Creating the 8 Blocks
1. Print and Prepare: Print all the cube templates from your ssc_01_calendar_tem1 onto A4 paper. Using thicker cardstock will make your finished engineering much more durable.

2. Precision Cutting: Carefully cut along all the solid lines using your scissors or craft knife. Avoid cutting the dotted lines—those are your fold guides!

3. Apply Adhesive: Apply your double-sided tape onto all the adhesive flaps.

4. Box Assembly: Fold along the lines to form a box shape and press the tabs down firmly for an instant bond. Repeat this until you have 8 perfect paper cubes.

5. The Layout: Arrange your 8 cubes into two neat rows of four cubes each.
-
- Ensure the illustrations on your cubes perfectly match the reference photo; correct alignment now is the key to ensuring your calendar flips correctly later!
6. The First Hinges: Apply clear tape to the four locations marked 1, 2, 3, and 4 in the diagram below .
-
- You must use four strips of tape and be careful not to stick the rows together.
- You must use four strips of tape and be careful not to stick the rows together.

7. Center Connections: Apply tape to the top and bottom middle sections at locations 5 and 6 as shown in the reference image.

8. The Flip and Secure: Carefully flip all the cubes over as one unit. Apply tape to the two new locations marked 7 and 8 in the diagram.

9. The Fold: Gently fold the left row of cubes over the right row (folding the entire assembly in half).

10. The Final Link: Apply a single piece of tape to the final spot marked 9 in the picture below.

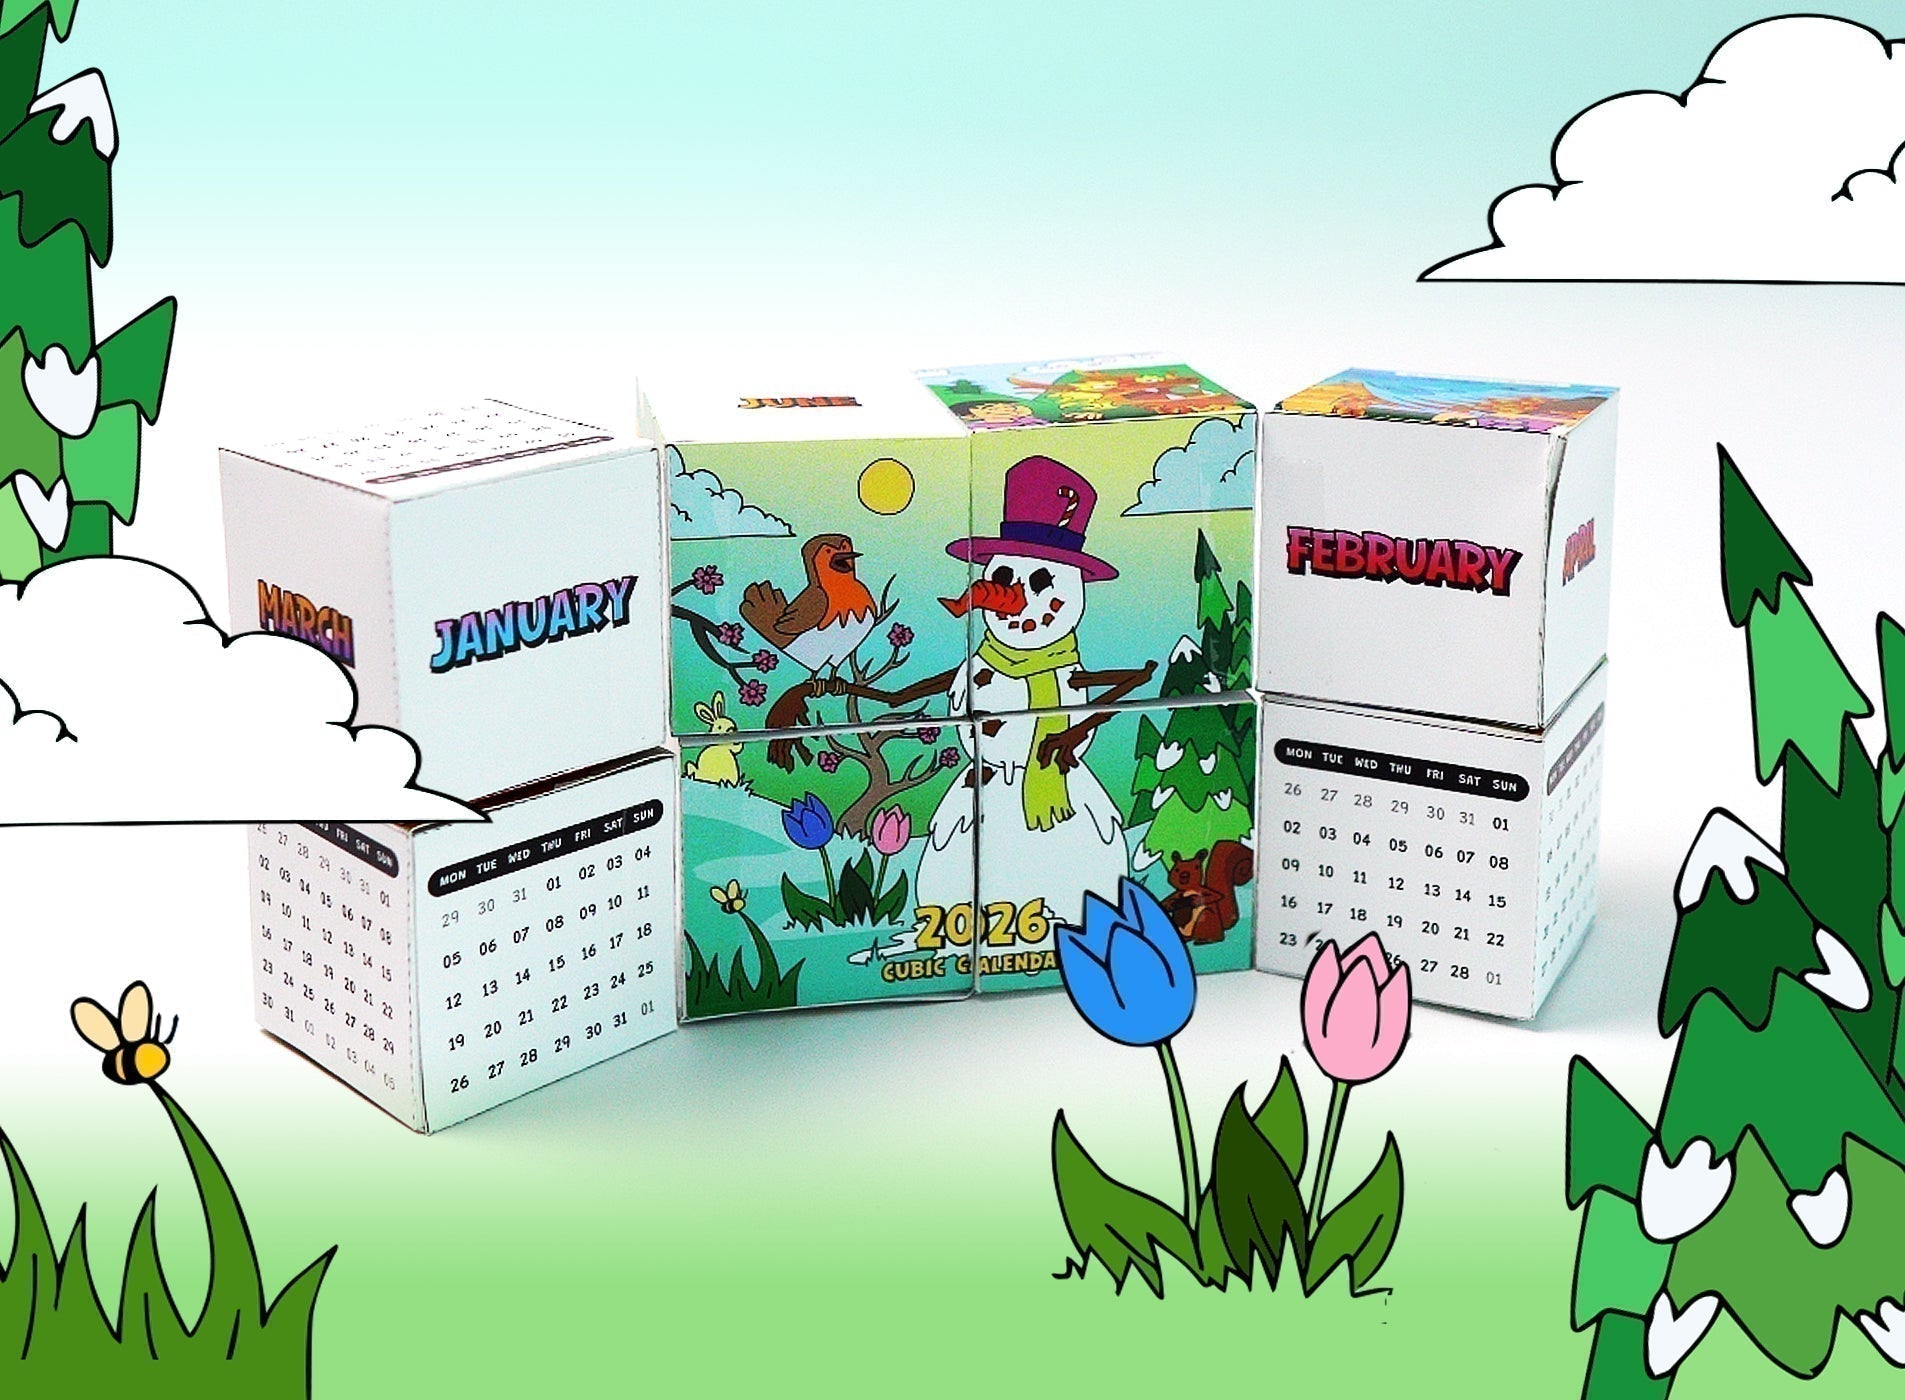
Your creation is complete! Now flop and fold your Cubic Calendar around to find each month as shown below.
January and February |
March and April |
May |
 |
 |
 |
June |
July |
August |
 |
 |
 |
September |
October |
November and December |
 |
 |
 |
Success Checklist
-
Hinge Check: Do the cubes rotate freely? If they feel stiff, ensure your tape hinges aren't too tight.
-
Alignment: Do the illustrations line up when you flip the blocks?
-
"The Loop Test:" Does the calendar cycle through all 12 months in a continuous loop without forcing the hinges?
The Science Link: Kinematic Chains
The Cubic Calendar is a classic example of a Kinematic Chain. By connecting solid parts (the cubes) with flexible joints (the tape), we create a loop that can move in a predictable, repeating pattern. It’s the same logic used in machines such as foldable space telescopes (look them up... they're insane!)!
Show us your Cubic Calendar!
Drop a comment below or share a video of your "Cubic Calendar" to Instagram or TikTok and tag us with #amomiiSSC. We want to see those calendars in motion!
PROJECT CREDITS
- amomii Lead: Shaun
- Illustration: Steve
- Graphics & Templates: Kelly
- Video & Blog Content: Cindy & Vera


