

Did You Know?
Did you know that a sloth’s slowness is actually its ultimate survival superpower? While it looks like laziness, moving at a snail's pace is a brilliant strategy for staying safe.Because they move so slowly, a unique green algae grows right inside their fur. This acts as a living camouflage suit, making them invisible to predators like jaguars and eagles that hunt by tracking movement.Their insides are just as slow. Sloths eat tough leaves that offer very little energy, and it can take up to an entire month just to digest a single meal! Moving slowly isn't lazy. It is a highly successful, energy-saving tactic that keeps them thriving in the treetops.

When to Celebrate
World Sloth Day is celebrated every year on October 20th. The day was created to raise awareness about the vital role these peaceful creatures play in the rainforest ecosystem and the importance of protecting their natural habitats.
The Toolkit
To build your Swaying Sloth, gather these supplies:
Paper Materials
-
The Template: [GET THE FREE TEMPLATE HERE]
-
Cardstock or A4 Paper (Cardstock is recommended for a sturdier craft.)
-
2 mm Corrugated Cardboard (for the branch and spacer)
Craft Supplies
-
Popsicle Sticks (2)
-
Drinking Straw
-
Twine
-
Double-Sided Tape
-
Hot Glue
-
Clear Tape
Tools
-
Scissors or a Craft Knife
Safety First: Always ask an adult for help when using sharp cutting tools or hot glue.
The Build: Step-by-Step
Phase 1: Preparation
1. Print and Prepare: Print your template and cut out all the pieces.

2. Mount the Branch: Use double-sided tape to attach the branch piece to cardstock, then cut it out.

Phase 2: Assemble the Base
3. Attach the Arm: Glue one arm in place.

4. Add the Spacer: Place a round spacer in the center of the white area.

5. Attach the Face: Use double-sided tape to attach the face to the spacer.

Phase 3: Assemble the Body
6. Attach the Hanger: Tie the twine to two craft sticks, then glue the craft sticks to the back of the branch.

7. Punch the Body: Punch a hole in the body piece.

8. Insert the Straw: Insert the straw through the hole and secure it with hot glue.

9. Insert the Paper Clip: Slide the paper clip through the straw.

10. Secure the Clip: Tape the paper clip to the back of the sloth's head.

Phase 4: Finish the Sloth
11. Attach the Arm: Glue the other arm in place.

12. Add the Decorations: Glue on the remaining decorative pieces.

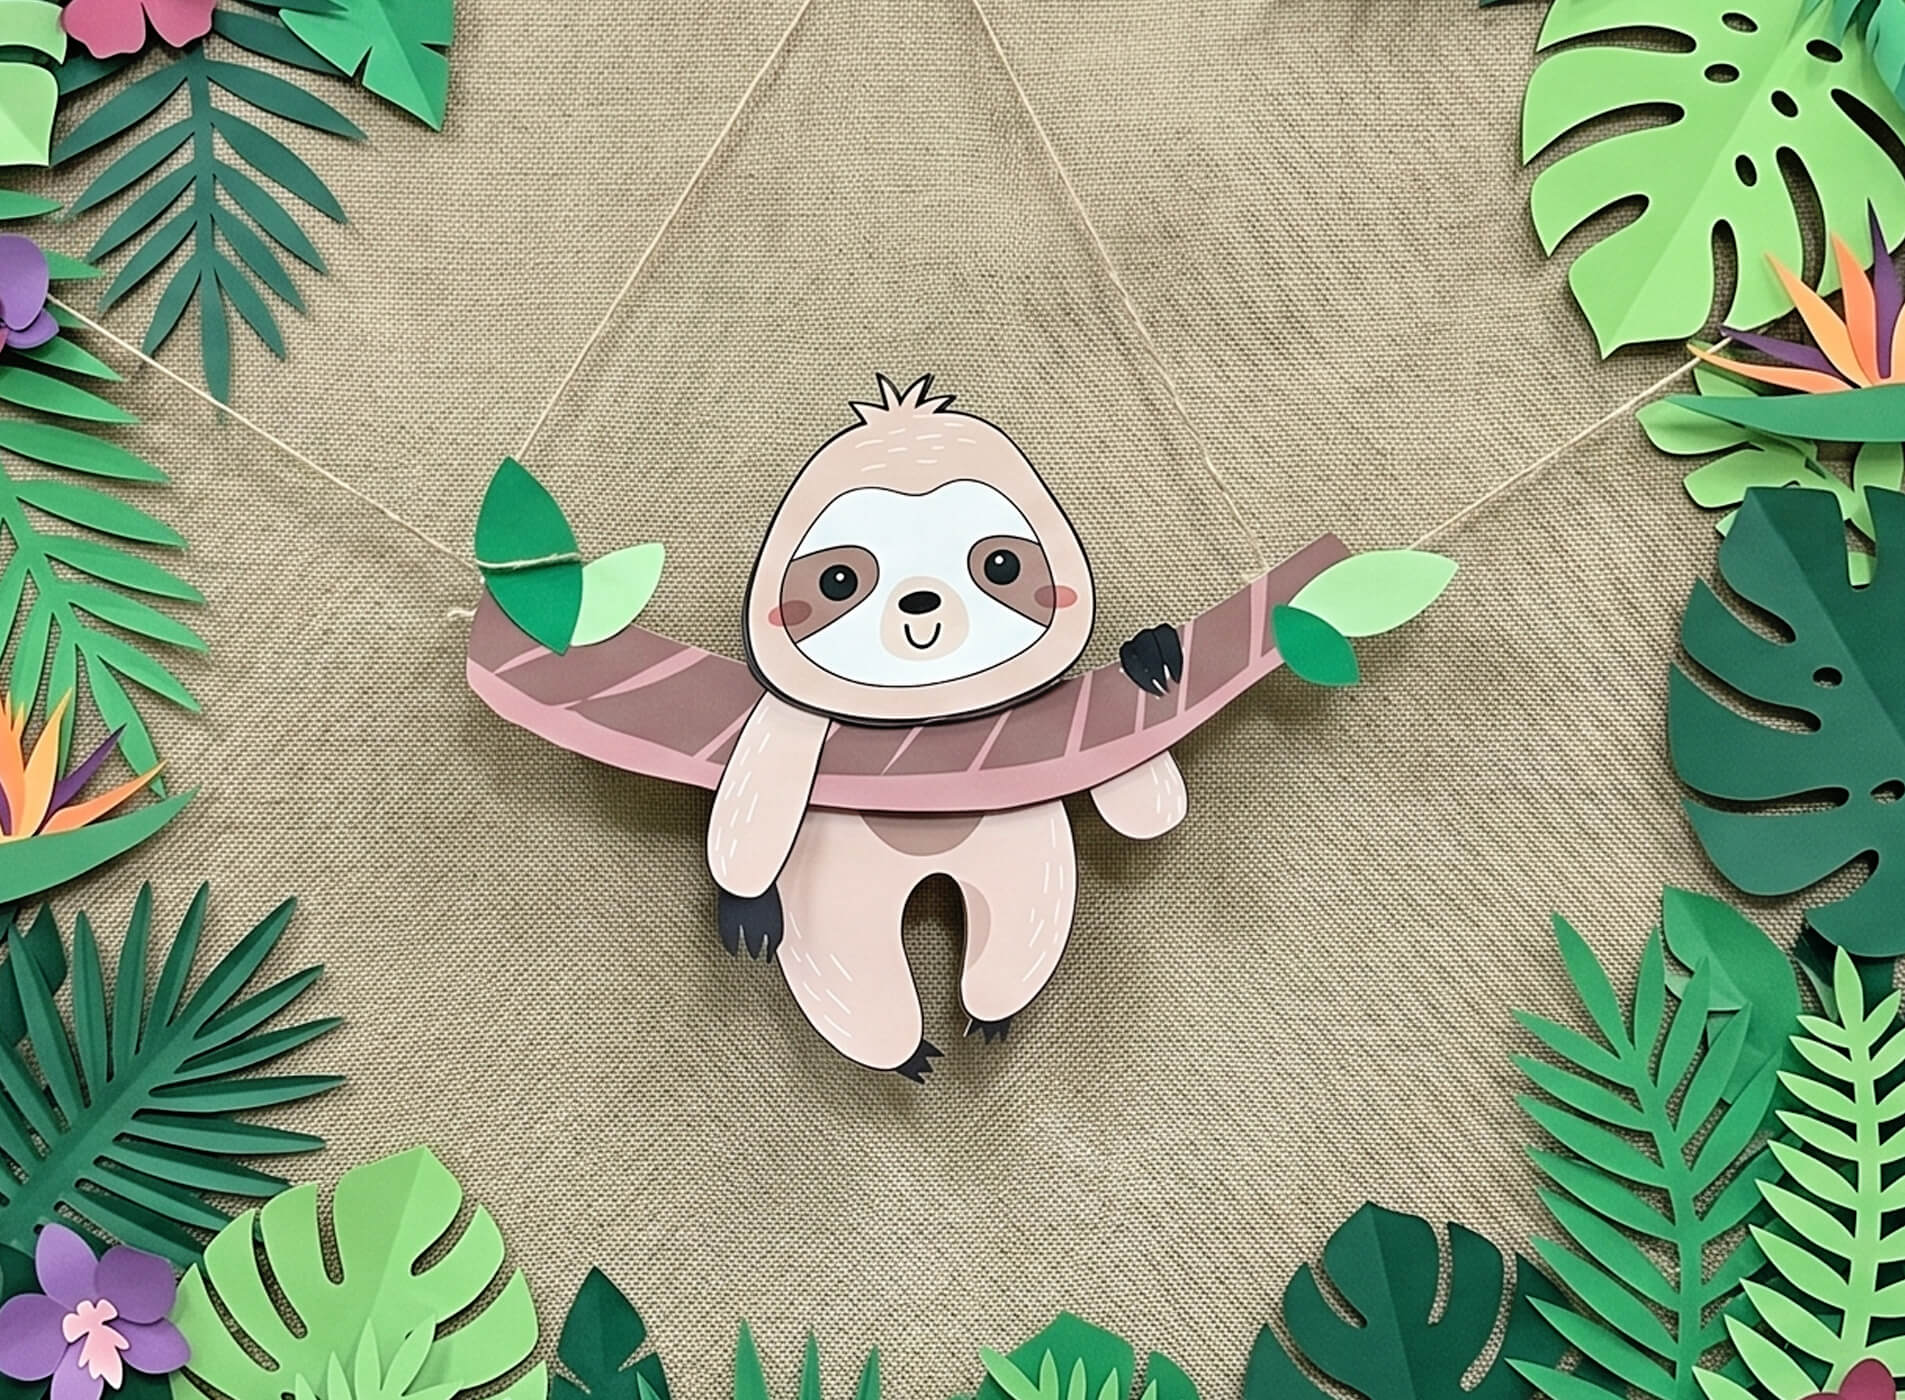
Your Swaying Sloth is complete!
Give the sloth a gentle push and watch it swing and sway! 😀
Success Checklist
-
Movement Check: Gently push the sloth's body to make sure it swings smoothly.
-
Hanging Check: Make sure the sloth hangs securely from the branch.
-
Attachment Check: Check that all glued and taped parts are firmly attached.
Get Your Templates
Sign up for free weekly templates delivered to your inbox. Unsubscribe at any time.
Show us your Swaying Sloth!
Create more than one and turn it into a race! Share your Swaying Sloth in action on Instagram or TikTok and tag #amomiiSSC. We’d love to see your creativity in action!
PROJECT CREDITS
-
amomii Lead: Shaun
-
Graphics & Templates: Kelly
-
Video & Blog Content: Cindy & Vera


