

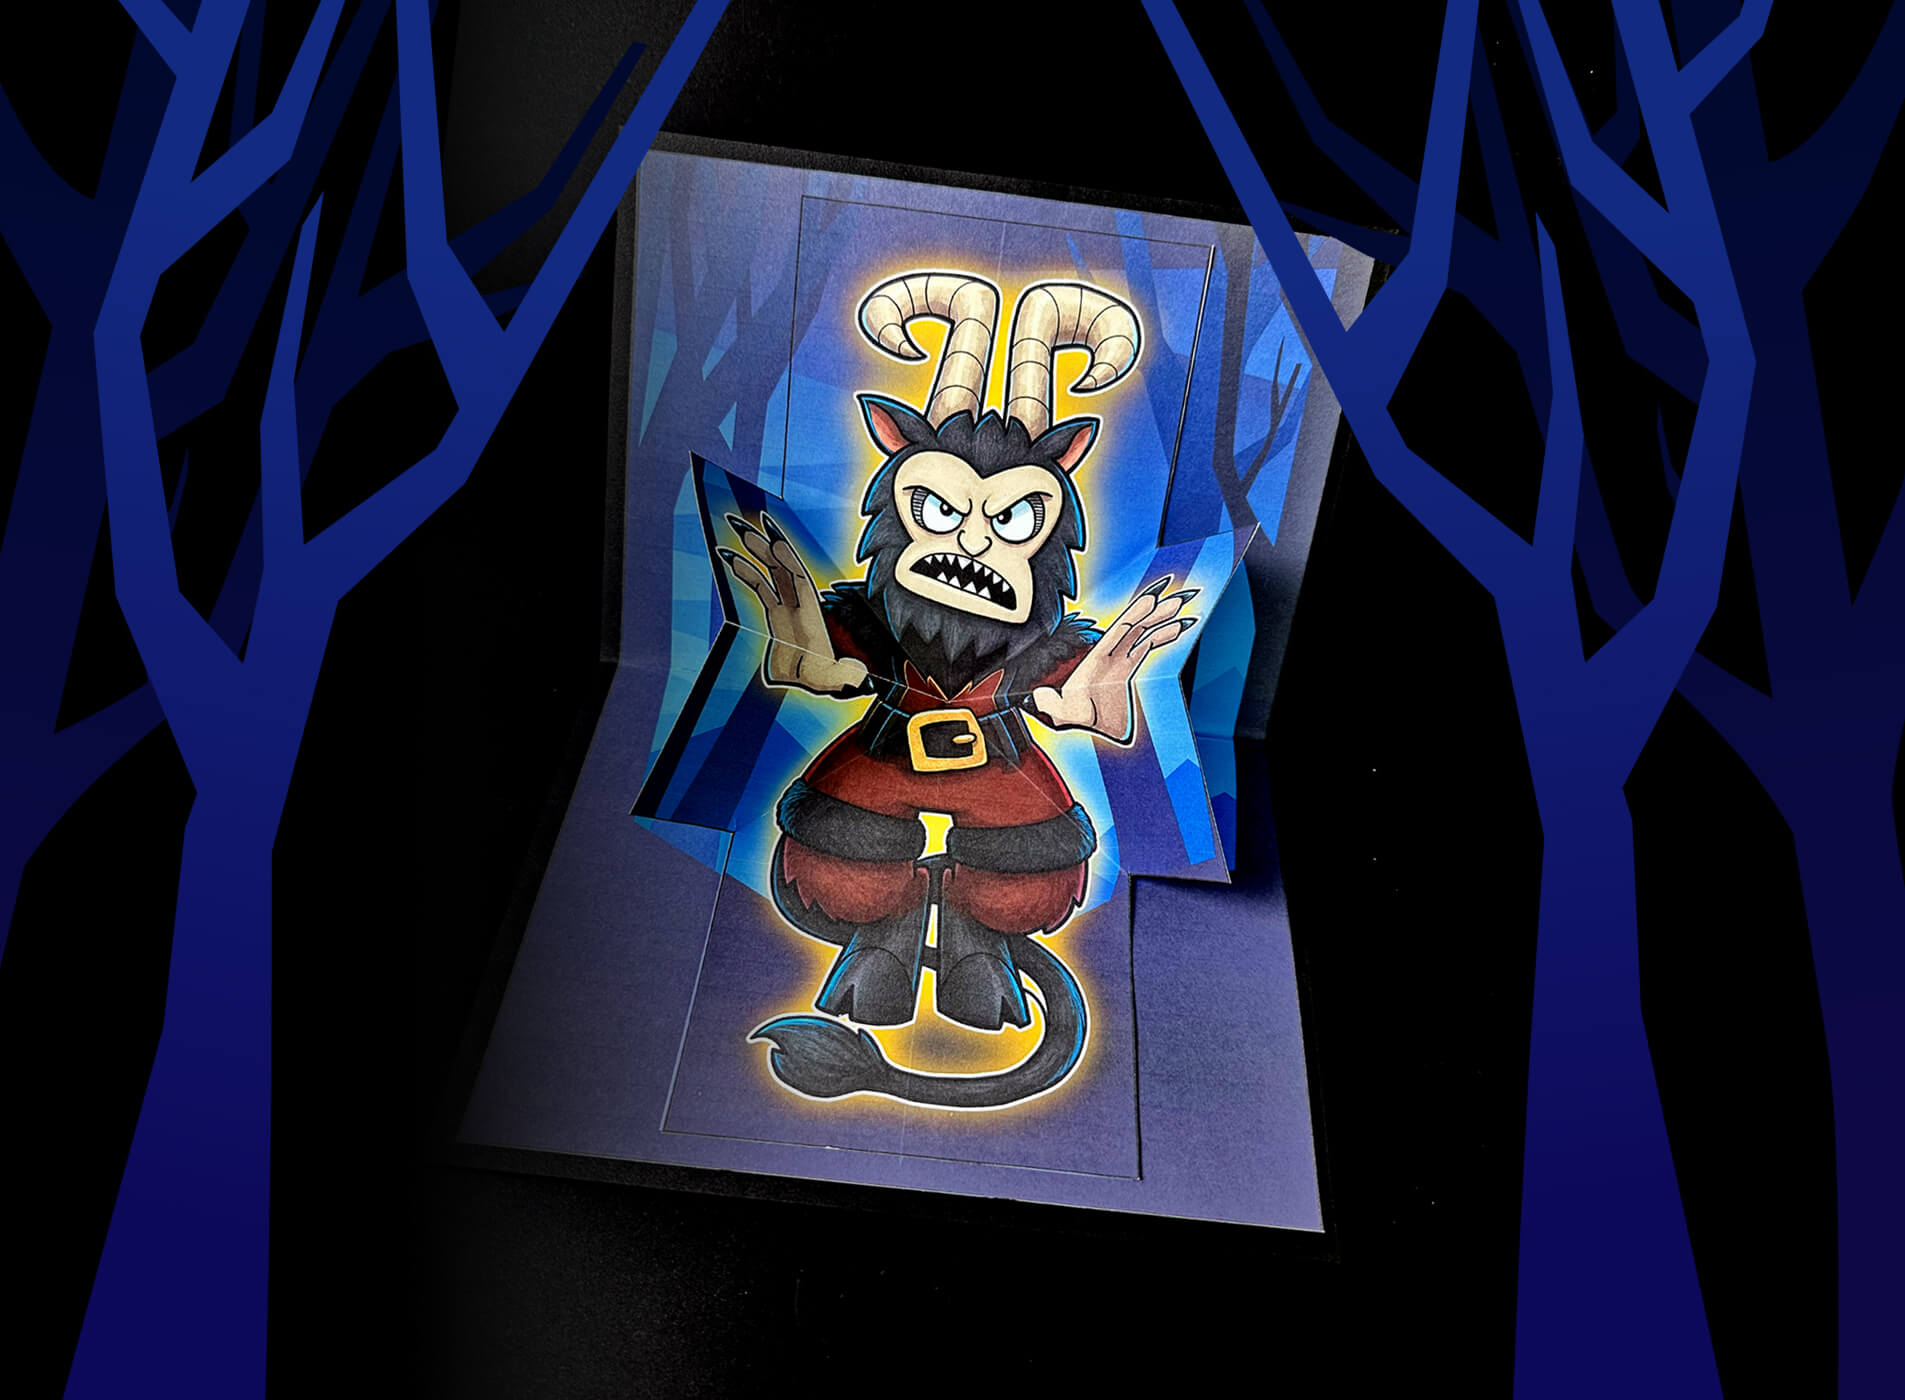
Did You Know?
Did you know that Krampus is a half-human, half-goat demon who hails from the Alpine regions of Germany and Austria? The opposite of Santa, Krampus visits the houses of children on December 5th. Instead of leaving presents behind, he leaves bruises, beating naughty children with birch sticks. That is, if you’re lucky. For the particularly troublesome kids, he simply rips them from their beds, tosses them into a sack, ties it up, and drowns them in the river.
On Krampusnacht, some cities participate in a Krampuslauf, or Krampus run. During this event, people dress up as Krampus and chase down people, trying to scare and frighten them in a form of holiday fun. In recent years, however, as the popularity of Krampus has surged, there have been some people who take the holiday too far, engaging in actual violence. Some reports mention serious injuries occurring as swarms of costumed demons surround and attack bystanders attempting to flee, with some even needing hospitalization afterwards.

When to Celebrate
Krampusnacht occurs on December 5th, the eve of St. Nicholas day, a day which is marked to celebrate the 4th century bishop who was known for his secret acts of generosity, especially in giving gifts to the poor. St. Nicholas is known as the inspiration for Santa Claus.
The Toolkit
To build your Krampus Card, gather these supplies:
-
The amomii Template: [GET THE FREE TEMPLATE HERE]
-
Double-Sided Tape
-
Scissors & Craft Knife
Safety Tip: Always ask an adult for assistance when using sharp cutting tools.
The Build: Step-by-Step
1. Print and Prepare: Print the templates on A4 paper and gather all necessary materials. For best results, use cardstock for improved durability.

2. Fold the paper: Fold along each dashed line to create four creases.

3. Shape the Design: Use the creases as guides to fold the design into the shape shown.

4. Cut the Design: Carefully cut out the design along the solid lines.

5. Attach the Design: Attach the folded design to the card base.
-Tip: Place tape only in the center section. Leave the outer sections tape-free so the design can pop up properly.

6. Assemble the Card: Fold the card in half and attach the cover to the front.

Your creation is complete! Share your Krampus Card with us!

Success Checklist
-
Movement Check: Open and close the card to make sure the moving element works smoothly.
-
Alignment Check: Make sure the design is centered and securely attached to the card base.
-
Tape Check: Check that all tape is secure and the outer sections are free of tape.
Get Your Templates
Sign up for free weekly templates delivered to your inbox. Unsubscribe at any time.
Show us your Krampus Card!
Drop a comment below or share a video of your "Krampus Card" to Instagram or TikTok and tag us with #amomiiSSC. We’d love to see your creativity in action!
PROJECT CREDITS
-
amomii Lead: Shaun
-
Illustration: Steve
-
Graphics & Templates: Kelly
-
Video & Blog Content: Cindy & Vera


