

Did You Know?
Did you know the Random Act of Kindness Day originated in New Zealand in 2004? It is meant to be a reminder that we all have the power to make a positive impact on those around us, and to encourage us to remember to use that power to create a better and nicer world for all of us, one small gesture at a time.

When to Celebrate
The date of September first was chosen for Random Act of Kindness day to coincide with the first day of spring in New Zealand. It also marks the beginning of National Courtesy Month, which reminds people that being polite is easy and costs you nothing, while fostering a welcoming and positive environment for all.
The Toolkit
To build your Kindness Card, gather these supplies:
-
The amomii Template: [GET THE FREE TEMPLATE HERE]
-
Double-Sided Tape
-
Clear Tape
-
Scissors & Craft Knife
Safety Tip: Always ask an adult for assistance when using sharp cutting tools.
The Build: Step-by-Step
Phase 1: Build the First Sliding Mechanism
1. Print and Prepare: Print the templates on A4 paper and gather all necessary materials. For best results, use cardstock for improved durability.

2. Precise Cutting: Carefully cut out all pieces along the solid black lines.
-Safety Tip: Ask an adult for help when using cutting tools.

3. Attach the Pull Strip: Attach the pull strip to F2 in the marked area.

4. Attach F1: Attach F1 and F2, aligning the marked areas to complete the face.

Phase 2: Build the Second Sliding Mechanism
5. Prepare Support Rod B: Fold Support Rod B along the dashed line, then apply double-sided tape to the marked area.

6. Attach Support Rod B: Attach Support Rod B to F3.

Phase 3: Install the First Sliding Mechanism
7. Cut the Slot: Cut out the slot on the Background piece.

8. Insert the First Sliding Mechanism: Insert the first sliding mechanism into the slot.

9. Secure the First Sliding Mechanism: Use clear tape to secure the first sliding mechanism to B-2.

10. Prepare Support Rod A: Fold Support Rod A along the dashed line, then apply double-sided tape to the marked area.

11. Attach Support Rod A: Attach Support Rod A to B-1 and F1 as indicated.

Phase 4: Install the Second Sliding Mechanism
12. Insert the Second Sliding Mechanism: Insert the second sliding mechanism into the slot.

13. Secure Second Sliding Mechanism: Use clear tape to secure the second sliding mechanism to B-3.

Phase 5: Finish the Card
14. Connect the Mechanisms: Turn the card over and attach Support Rod B to the pull strip.

15. Thread the Pull Strip: Thread the connected pieces through the slot.

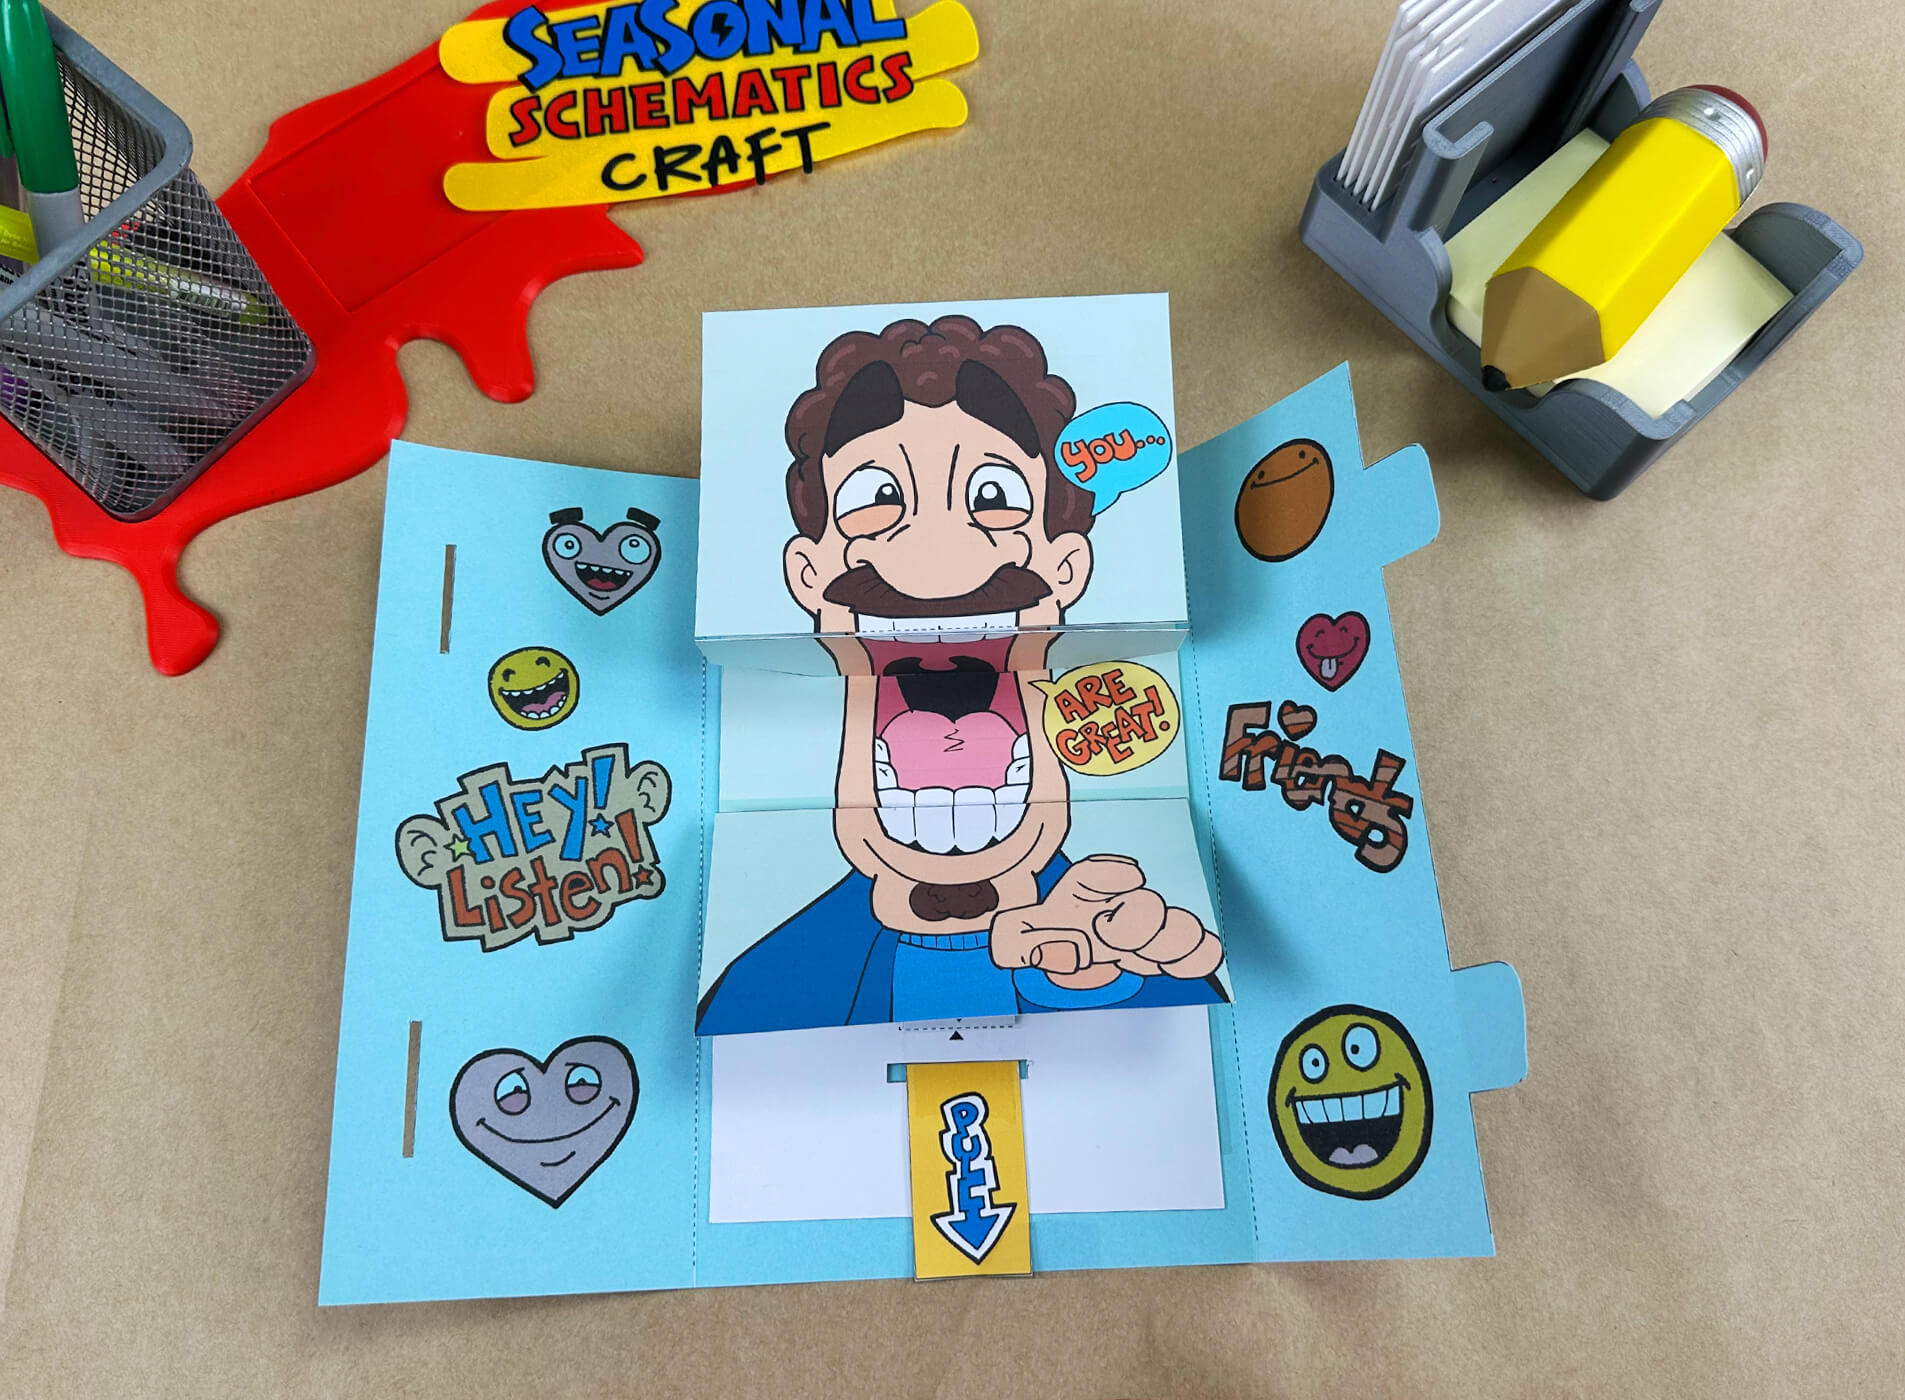
16. Assemble the Card: Attach the sliding mechanism assembly to the card, then decorate it with the icons to complete your card.

Your creation is complete! Share your Kindness Card with us!

Success Checklist
-
Movement Check: Slide the pull strip back and forth to make sure it moves smoothly without getting stuck.
-
Alignment Check: Make sure all pieces are properly aligned and securely attached.
-
Tape Check: Check that all taped areas are secure while keeping the moving parts free to slide.
Get Your Templates
Sign up for free weekly templates delivered to your inbox. Unsubscribe at any time.
Show us your Kindness Card!
Drop a comment below or share a video of your "Kindness Card" to Instagram or TikTok and tag us with #amomiiSSC. We’d love to see your creativity in action!
PROJECT CREDITS
-
amomii Lead: Shaun
-
Illustration: Steve
-
Graphics & Templates: Kelly
-
Video & Blog Content: Cindy & Vera


