

Section 1: Overview & How It Works
Have you ever wondered how the volume knob on an old stereo works? Or how a dimmer switch smoothly adjusts the brightness of a room? The unsung hero behind these everyday actions is a simple electronics component known as the rotary potentiometer.

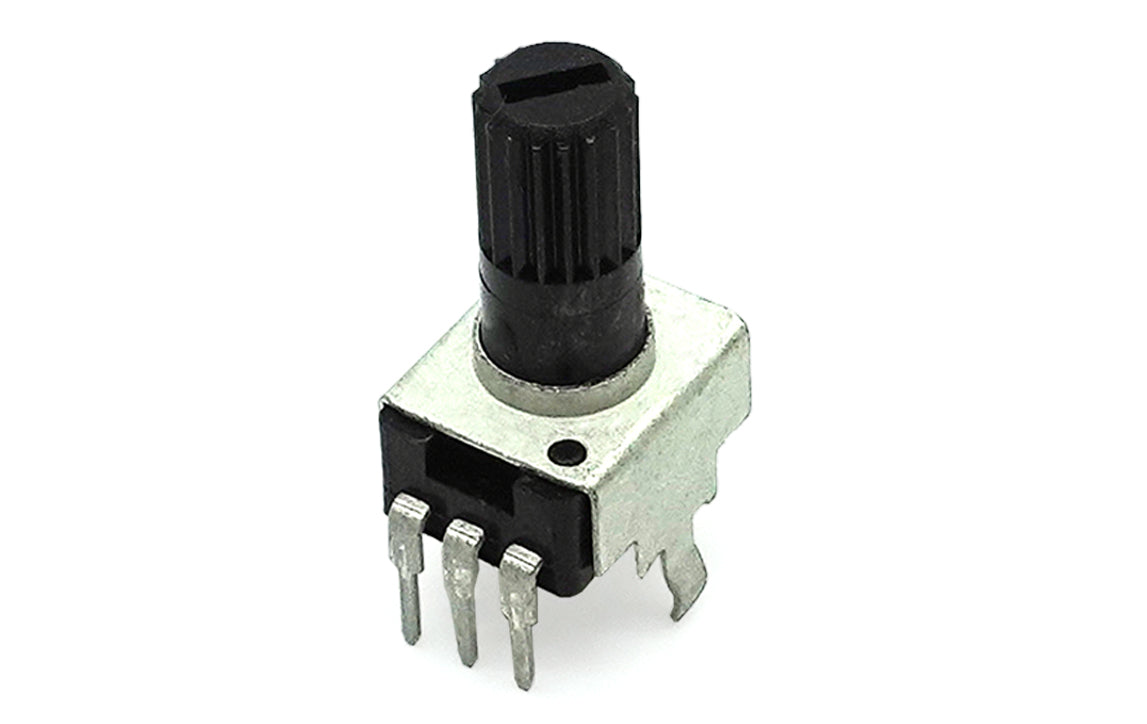
At its core, a potentiometer is a variable resistor that allows manual control over the flow of electrical current. Inside the component sits a resistive track and a tiny sliding contact called a wiper. As you turn the physical shaft, the wiper moves along the track, altering the distance the electricity must travel.
A longer path creates higher resistance, while a shorter path creates less resistance. This mechanical shift directly translates to a variable voltage output. For a maker diving into hardware, understanding this component opens up endless possibilities for physical interaction. It bridges the gap between mechanical movement and digital control.
When integrating one into a practice kit, proper soldering ensures a reliable connection. Hand soldering the three terminals onto a circuit board is an excellent way to refine your technique, as the pins are spaced perfectly for a standard soldering practice session.
Section 2: Real-World Use in Arduino Projects
In the maker community, the potentiometer is a staple component for any beginner-friendly DIY project. Because microcontroller platforms read changing voltages, this component serves as an intuitive analog input device. It allows you to feed real-time human interaction directly into your code.
Here are two classic ways to use a potentiometer in your next Arduino project:
- LED Brightness and Speed Control: By connecting the component to an analog input pin, you can map the position of the knob to control the blinking speed of an LED. Alternatively, you can use it to smoothly dim or brighten a light, mimicking a real-world dimmer switch.
- Audio and Servo Motor Control: You can use the knob to position a small servo motor precisely between 0 and 180 degrees. This setup is frequently used in robotics to control mechanical arms, steering mechanisms, or even to adjust audio volume levels in custom-built speaker systems.
Whether you are assembling a basic soldering practice kit or designing an intricate STEAM learning layout, mastering this component is a fundamental milestone. It provides an immediate, tactile way to see your code interact with the physical world.
See It in the Testudo Kit
Every component in this guide is part of the Testudo soldering practice kit — a hands-on way to learn electronics, soldering, and Arduino coding from the ground up.


