

Section 1: Overview & How It Works
Have you ever wondered how a simple press can bring a complex machine to life? In the world of DIY electronics, the humble tactile push button is the ultimate bridge between human touch and digital action. This tiny, clicky component is a staple for any maker starting their journey, offering a satisfying physical response whenever it is pressed.

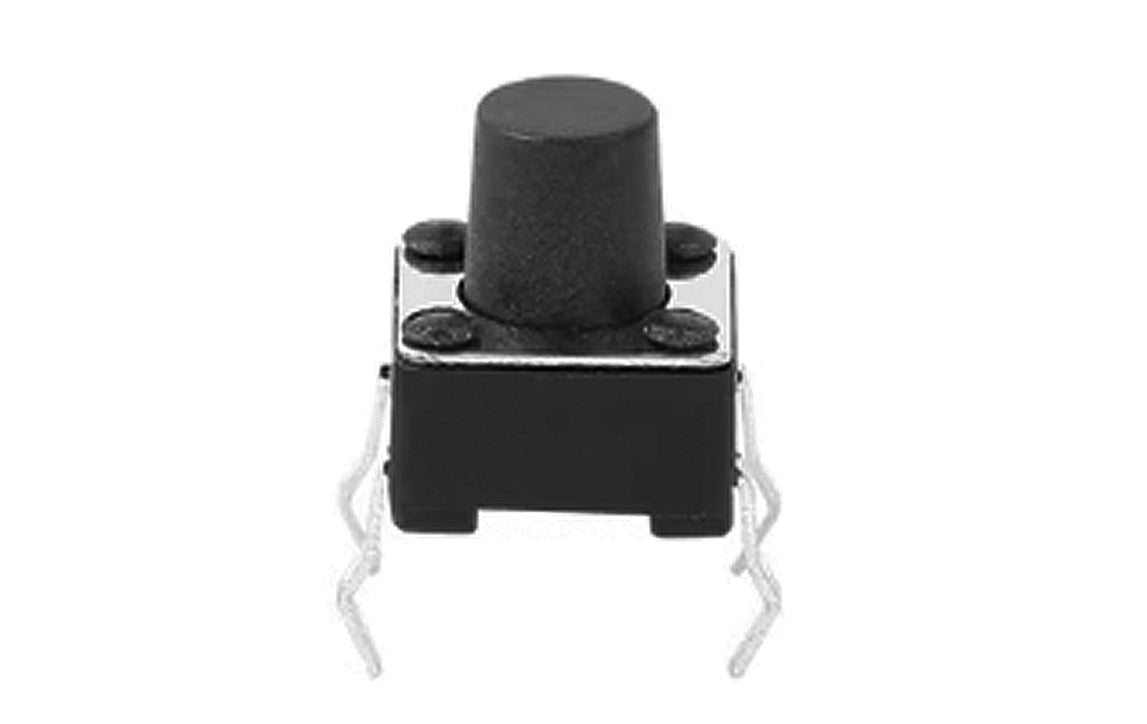
At its core, a tactile switch functions as a momentary gatekeeper for electricity. Inside the housing, a tiny, curved metallic disc sits above an open electrical circuit. When you apply pressure to the button cap, the disc deflects downward, bridging the internal contacts and allowing current to flow freely. The moment you release your finger, the metal springs back to its original shape, instantly breaking the connection.
Understanding the layout of these four-pin switches is straightforward. The pins are internally connected in pairs. When you press the button, it temporarily connects the two separate pairs, completing your circuit and registering a successful input.
Section 2: Real-World Use in Arduino Projects
For anyone diving into the Arduino ecosystem, mastering the push button is a foundational milestone. It serves as one of the most basic digital input devices, allowing you to feed external commands directly into your microcontrollers. Whether you are assembling a soldering practice kit or designing a custom interface, buttons introduce interactivity to your creations.
Integrating a tactile switch into your electronics projects opens up endless possibilities for hands-on learning. Here are two practical ways hobbyists utilize this versatile component:
- Mode Selectors and Toggles: You can program your microcontroller to cycle through different software states with each press. A single button can turn an LED on and off, change the flashing pattern of a light display, or switch between different sensor modes in a DIY weather station.
- Custom Gaming Controllers: By pairing multiple tactile switches together on a practice kit circuit board, you can build your own retro gamepad. Each button press can send a unique command to your computer, turning your hardware build into a functional controller for simple games.
Navigating the mechanics of hardware input is a rewarding step for any beginner-friendly STEM program. By mastering this single component, you unlock the ability to make your projects truly responsive to the physical world.
See It in the Testudo Kit
Every component in this guide is part of the Testudo soldering practice kit — a hands-on way to learn electronics, soldering, and Arduino coding from the ground up.


