

Section 1: Overview & How It Works
Have you ever wondered how different parts of an electronic device talk to each other without creating a messy web of loose wires? Enter the wire-to-board connector, a fundamental component in the world of electronics that acts as a secure, removable bridge between your wiring and a printed circuit board (PCB). Specifically, right-angle headers allow wires to plug in parallel to the board, saving valuable vertical space in tight enclosures.

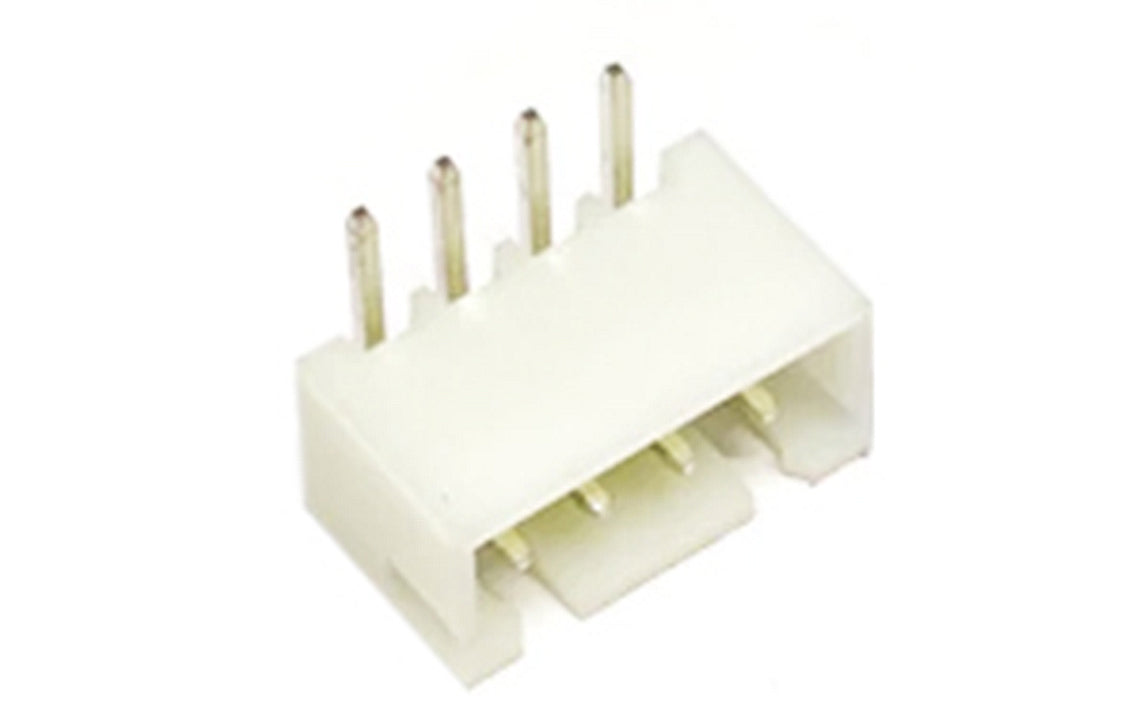
At its core, this component consists of two main parts: a plastic housing that holds the wire terminals and a pinned header soldered directly to the board. The primary job of this connector is to ensure a stable electrical current flows cleanly between your components without dropping the signal. By using a locking friction mechanism, it prevents accidental disconnections from vibrations while still allowing you to unplug the cable easily during a repair or upgrade.
For maker projects, these connectors typically feature a standard 2.5mm pitch, which is the precise spacing between the center of each pin. They are designed to safely handle standard low-voltage applications, often rated for up to 3A and 250V. Built from durable, heat-resistant nylon and paired with tin-plated brass pins, they are robust enough to withstand the heat of a beginner's iron during soldering practice.
Section 2: Real-World Use in Arduino Projects
When building custom gadgets with an Arduino, managing your wiring is crucial for a reliable build. Standard jumper wires are great for breadboarding, but they can easily slip out of place once you move your project off the bench. Integrating wire-to-board connectors into your custom PCBs or shields ensures that your power supply, sensors, and displays remain firmly linked to your microcontroller.
Consider a few practical applications where these connectors excel:
- Custom Robotics: If you are building a rover, the vibrations from the motors can easily dislodge loose connections. Using these headers to attach your motor drivers and battery packs keeps the robot moving reliably.
- Smart Home Hubs: For desktop gadgets like an automated weather station, right-angle connectors let you plug in external sensors or a screen while keeping the overall housing slim and low-profile.
Whether you are assembling a soldering practice kit or moving your first DIY prototype to a permanent enclosure, mastering these connectors is a major step forward. They transform a fragile tangle of breadboard wires into a clean, durable, and highly professional device.
See It in the Testudo Kit
Every component in this guide is part of the Testudo soldering practice kit — a hands-on way to learn electronics, soldering, and Arduino coding from the ground up.


