

Did You Know?
Did you know that Dia de Muertos can possibly trace its origins back over 3,000 years to ancient Aztec traditions? The Aztecs held several celebrations honoring the dead throughout the year, but the event closest to the modern holiday was Quecholli, a day in late October that honored Mixcoatl, the god of war. During this festival, the Aztecs would set up altars and offer gifts of food to honor fallen warriors and ease their journey to the afterlife.
It is thought that the Spanish likely merged this holiday with the Catholic traditions of All Hallows' Eve during their colonization, though historians continue to study the exact blend. Some aspects of the holiday are unquestionably European in influence, such as the lighting of candles to help the souls of the dead find their way back home, which can be linked to similar practices in medieval Spain.

When to Celebrate
Dia de Muertos takes place over two days which coincide with the Catholic holidays of All Saints' Day on November 1st and All Souls' Day on November 2nd. The traditions of Dia de Muertos split the two days into Dia de los Angelitos, which honors children who have passed, and Dia de los Muertos, which honors adults.
The Toolkit
To build your Dancing Skeleton, gather these supplies:
-
The amomii Template: [GET THE FREE TEMPLATE HERE]
-
Cardstock or Paper : (Letter size or A4; use thicker paper for a stronger build)
-
Hot Glue Gun
-
Scissors or Craft Knife: (Safety First: Always ask an adult for assistance when using sharp cutting tools)
Materials required:
-
Corrugated Cardboard (About 2 mm thick)
-
Wooden Dowel (3 mm diameter)
-
Paper fasteners
-
Optional Decorations (Paper flowers, markers, etc.)
The Build: Step-by-Step
Phase 1: Print & Prepare
1. Print and Prepare: Print the template, glue the sheets onto your 2 mm corrugated cardboard, and carefully cut out all the pieces needed for the project.

Phase 2: Build the Cam Mechanism
2. Connect the T-Bar: Take the straight linkage arm (the long blade piece) and attach one end to the middle hole of the T-bar panel. Secure them together using a brad (split pin) where the red circle indicates. Make sure it can pivot freely.

3. Build the Cam Wheel: Locate the large circular wheel base marked with positions A and B. Glue a 2 cm cardboard circle onto both positions. Then glue a 3 cm cardboard circle on top of the circle at position A.

4. Layer and Pierce: Glue a larger 3 cm cardboard circle directly on top of the 2 cm circle at position A. Once the glue dries, pierce a clean hole straight through the center points of both circle A and circle B.

5. Attach the T-Bar to the Wheel: Align the bottom hole of your T-bar mechanism with the center hole of circle A on the wheel base. Insert a 3 mm wooden dowel through both holes, and secure it firmly on the front side with hot glue.

6. Secure the Back: Let the wooden dowel pass all the way through to the back of the wheel base. Slide another 3 cm cardboard circle onto the dowel on the backside, glue it down securely, and trim off any excess dowel.

Phase 3: Assemble the Skeleton
7. Put the Body Together: Arrange all your cut-out skeleton body pieces. Use brads (split pins) to connect the joints together so the arms and legs can move. Make sure you pierce holes and connect them at all the marked red circles.

8. Attach the Head Mechanism: Before gluing the skull on, you must attach the skull's backing support panel to the upper neck joint using a brad (as shown in the red circle). Once the support panel is secured, glue the colorful skull face onto the front of it.

Phase 4: Prepare the Background
9. Prepare the Background: Prepare your decorative background board and make sure to punch out all the guide holes according to the template instructions. Place the assembled skeleton onto the front of the background

10. Mount the Cam Wheel: Flip the background board over. Align the cam wheel with Hole C and insert a wooden dowel through the wheel and the board.

12. Lock it in Place: From the front side of the board, push the dowel all the way through the board and through the skeleton's chest hole. Slide a 3 cm cardboard circle onto the dowel on both the front and back sides to sandwich the layers. Secure everything firmly with hot glue on both sides, then trim off any protruding dowel.

13. Attach the Anchor Arm: Align the guide hole on the wing-shaped extension of your linkage mechanism with the hole on the left side of the background board. Secure it with a brad.

14. Lock it in Place: Align the skeleton puppet's body over the background board. Push the wooden dowel from the back through the main board and straight through the center hole of the skeleton's chest, threading it out through the center of the front layers. Insert a 3 cm cardboard circle onto the protruding dowel on the front side of the skeleton's chest.

15. Secure the Mechanism: Use a hot glue gun to apply a generous dab of glue over the circle and the tip of the wooden dowel to lock it in place, then repeat on the pivot connection on the back of the board to ensure everything is held firmly.

14. Secure the Feet: Attach the skeleton's feet to the marked locations at the bottom of the background board.

Final Step
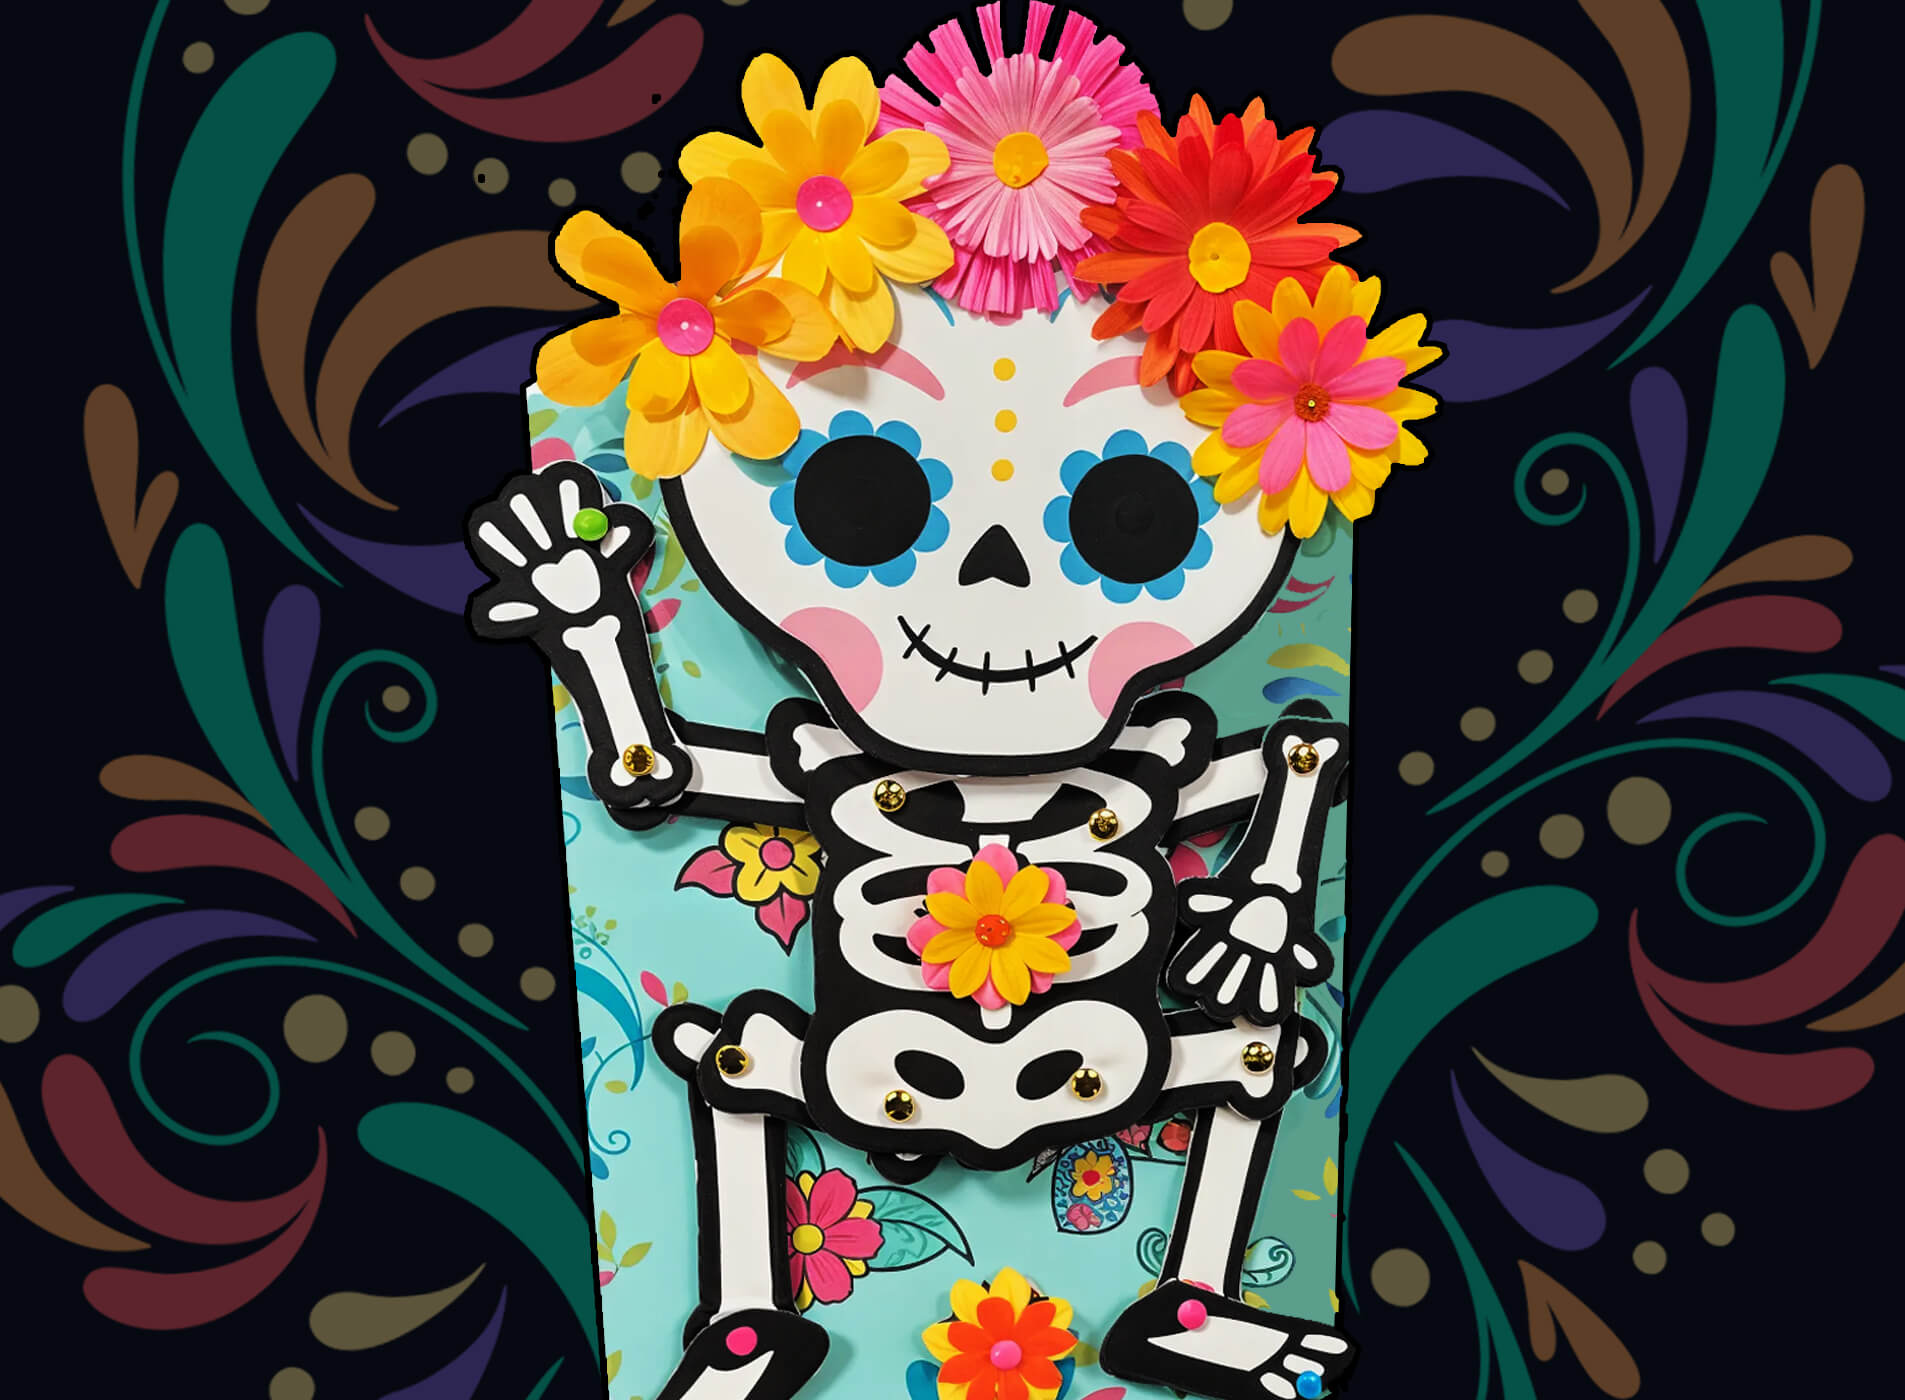
Your Dancing Skeleton is complete! 💀🎉
Turn the wheel on the back and watch your skeleton dance and sway.
Add paper flowers, colorful decorations, or festive accessories to make your skeleton unique!

Success Checklist
-
Wheel Check: Does the cam wheel rotate smoothly?
-
Movement Check: Do the arms, legs, and head move when the wheel turns?
-
Joint Check: Are all paper fasteners secure while still allowing movement?
-
Dance Test: Can your skeleton dance freely without getting stuck?
Get Your Templates
Sign up for free weekly templates delivered straight to your inbox. Unsubscribe at any time.
Show us your Dancing Skeleton! 💀🌼
We'd love to see your skeleton dance! Share a photo or video of your creation on Instagram or TikTok and tag us with #amomiiSSC.
PROJECT CREDITS
-
amomii Lead: Shaun
-
Graphics & Templates: Kelly
-
Video & Blog Content: Cindy & Vera


