

Did You Know?
Did you know that Mother’s Day was founded by Anna Jarvis in honor of her mother, all the way back in 1908? Interestingly, Anna spent the latter part of her life criticizing and rallying against the holiday, arguing that it had become too commercial and lost the sentimentality it originally stood for. To illustrate what she meant by the holiday being overly commercialized, Americans spend over $1 billion on cards alone for Mother’s Day every year.

When to Celebrate
Mother’s Day happens every year on the first Sunday of May. The reason this date was chosen was because of a reason personal to Anna Jarvis. Anna’s mother died on May 5th, 1905. When Anna decided she wanted a way to honor her, she chose the closest Sunday to the anniversary of her passing.
The Toolkit
To build your Pop-Up Flower Card, gather these supplies:
-
The amomii Template: [GET THE FREE TEMPLATE HERE]
-
Cardstock or A4 Paper: (Use thicker paper for a stronger build)
-
Glue or Double-Sided Tape
-
7 Squares of Colored Paper (for the flowers)
-
Scissors or Craft Knife: (Safety First: Always ask an adult for assistance when using sharp cutting tools)
The Build: Step-by-Step
Phase 1: Print & Prepare
1. Print and Cut : Print the templates and cut all pieces to the correct size as indicated.

Phase 2: Build the Card Base
2. Prepare the Cards
You will need:
-
1 large cover card
-
2 medium cards (same size)
-
One for writing your message
-
One for attaching the flowers
Use different colors for a more vibrant and personalized look.

3. Fold the Cards: Fold each card neatly in half.

4. Layer the Structure
-
Attach the smallest card onto one of the medium cards

-
Glue the two medium cards back-to-back

-
Attach the combined piece inside the large cover card

Phase 3: Create the Flowers
5. Fold the Paper: Take one square paper and fold it into a rectangle three times.


6. Cut the Shape: Cut along the edges to form a flower petal shape.

7. Open and Modify
-
Open the folded paper to reveal the flower and cut out one petal

-
Overlap and glue the remaining edges to form a 3D flower

8. Repeat: Repeat these steps until you have 7 flowers.
Tip: Personalize your flowers by drawing on them or creating your own unique designs!

Phase 4: Assemble the Pop-Up
-
Arrange the Flowers: Follow the template guidance to position all 8 flowers correctly. Pay attention to which points need to be glued—this ensures the pop-up effect works smoothly.


10. Attach to Card: Carefully glue the flowers into the card. Before pressing down, check that the placement allows the flowers to open and close properly.

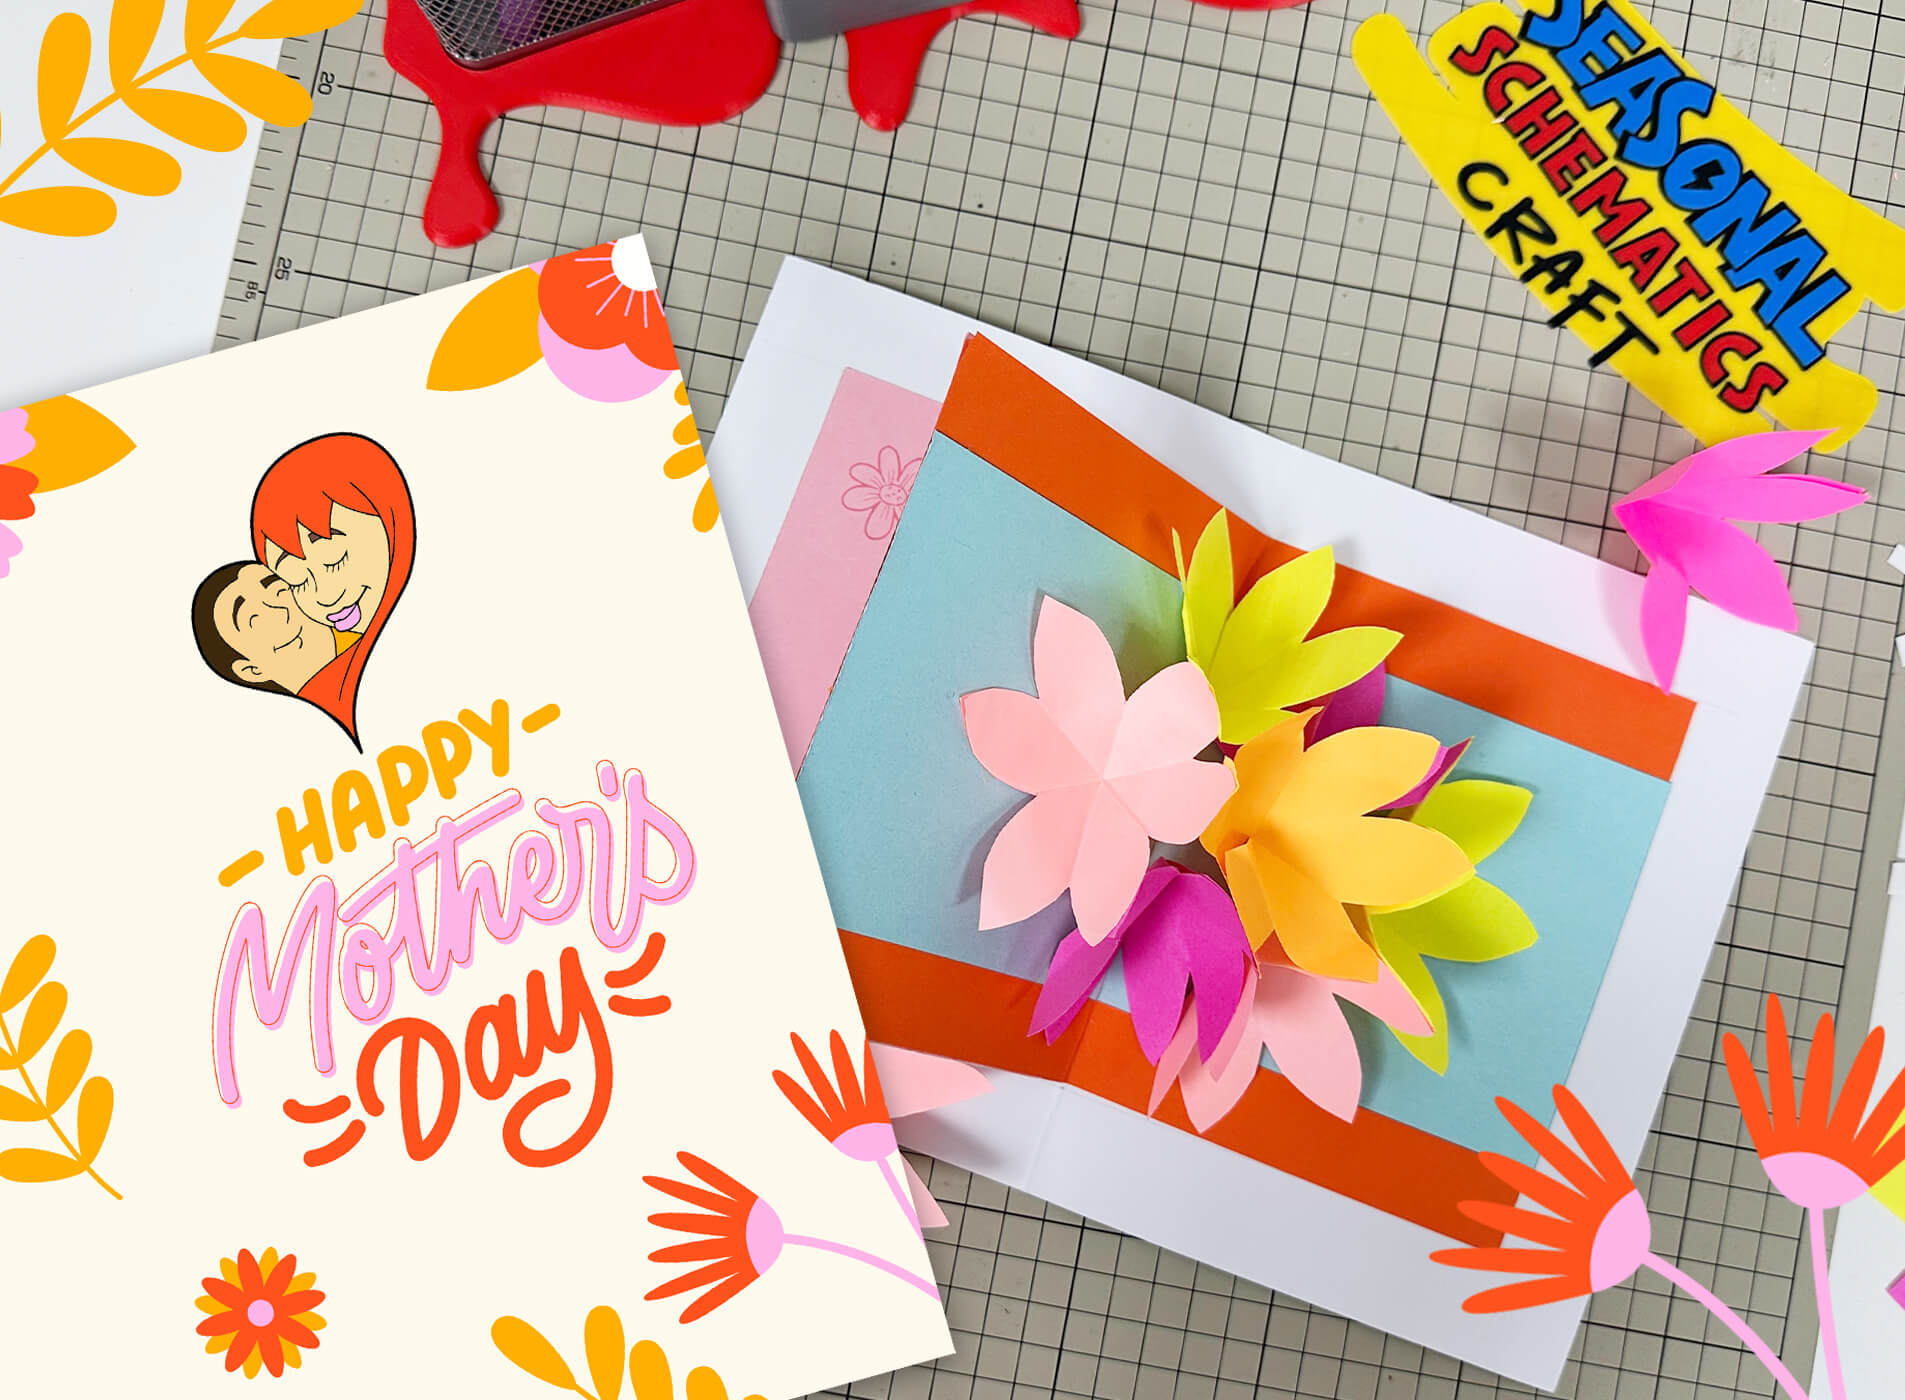
Your Pop-Up Flower Card is complete! 💐
Open the card to reveal a blooming surprise—perfect for making Mother’s Day extra special.

Success Checklist
-
Pop-Up Check: Do the flowers open smoothly when you open the card?
-
Alignment Check: Are the flowers centered and evenly arranged inside the card?
-
Structure Check: Is the card sturdy and able to close without flattening the flowers incorrectly?
-
Design Check: Are your colors vibrant and personalized? Add extra decorations if you’d like!
Get Your Templates
Sign up for free weekly templates delivered to your inbox. Unsubscribe at any time.
Show us your Pop-Up Flower Card!
We’d love to see your creations! Share your Pop-Up Flower Card on Instagram or TikTok and tag #amomiiSSC. We’d love to see your creativity in action!
PROJECT CREDITS
-
amomii Lead: Shaun
-
Illustration: Steve
-
Graphics & Templates: Kelly
-
Video & Blog Content: Cindy & Vera


