

Uploading the Project
If you haven't already uploaded the Mini Recordion code to your device, there are two ways to do it:
1.Use amomii Link. amomii Link is our proprietary tool for uploading code directly from our website.
- Go to Mini Grand Link and choose your project. Today we’re picking Mini Recordion.
- Read about the amomii Link tool.
2.Manual Installation: Go to the Toolbox, download the code and upload it to your device using the Arduino IDE (if you don't know what that means, use option one!)
- Go to Toolbox.
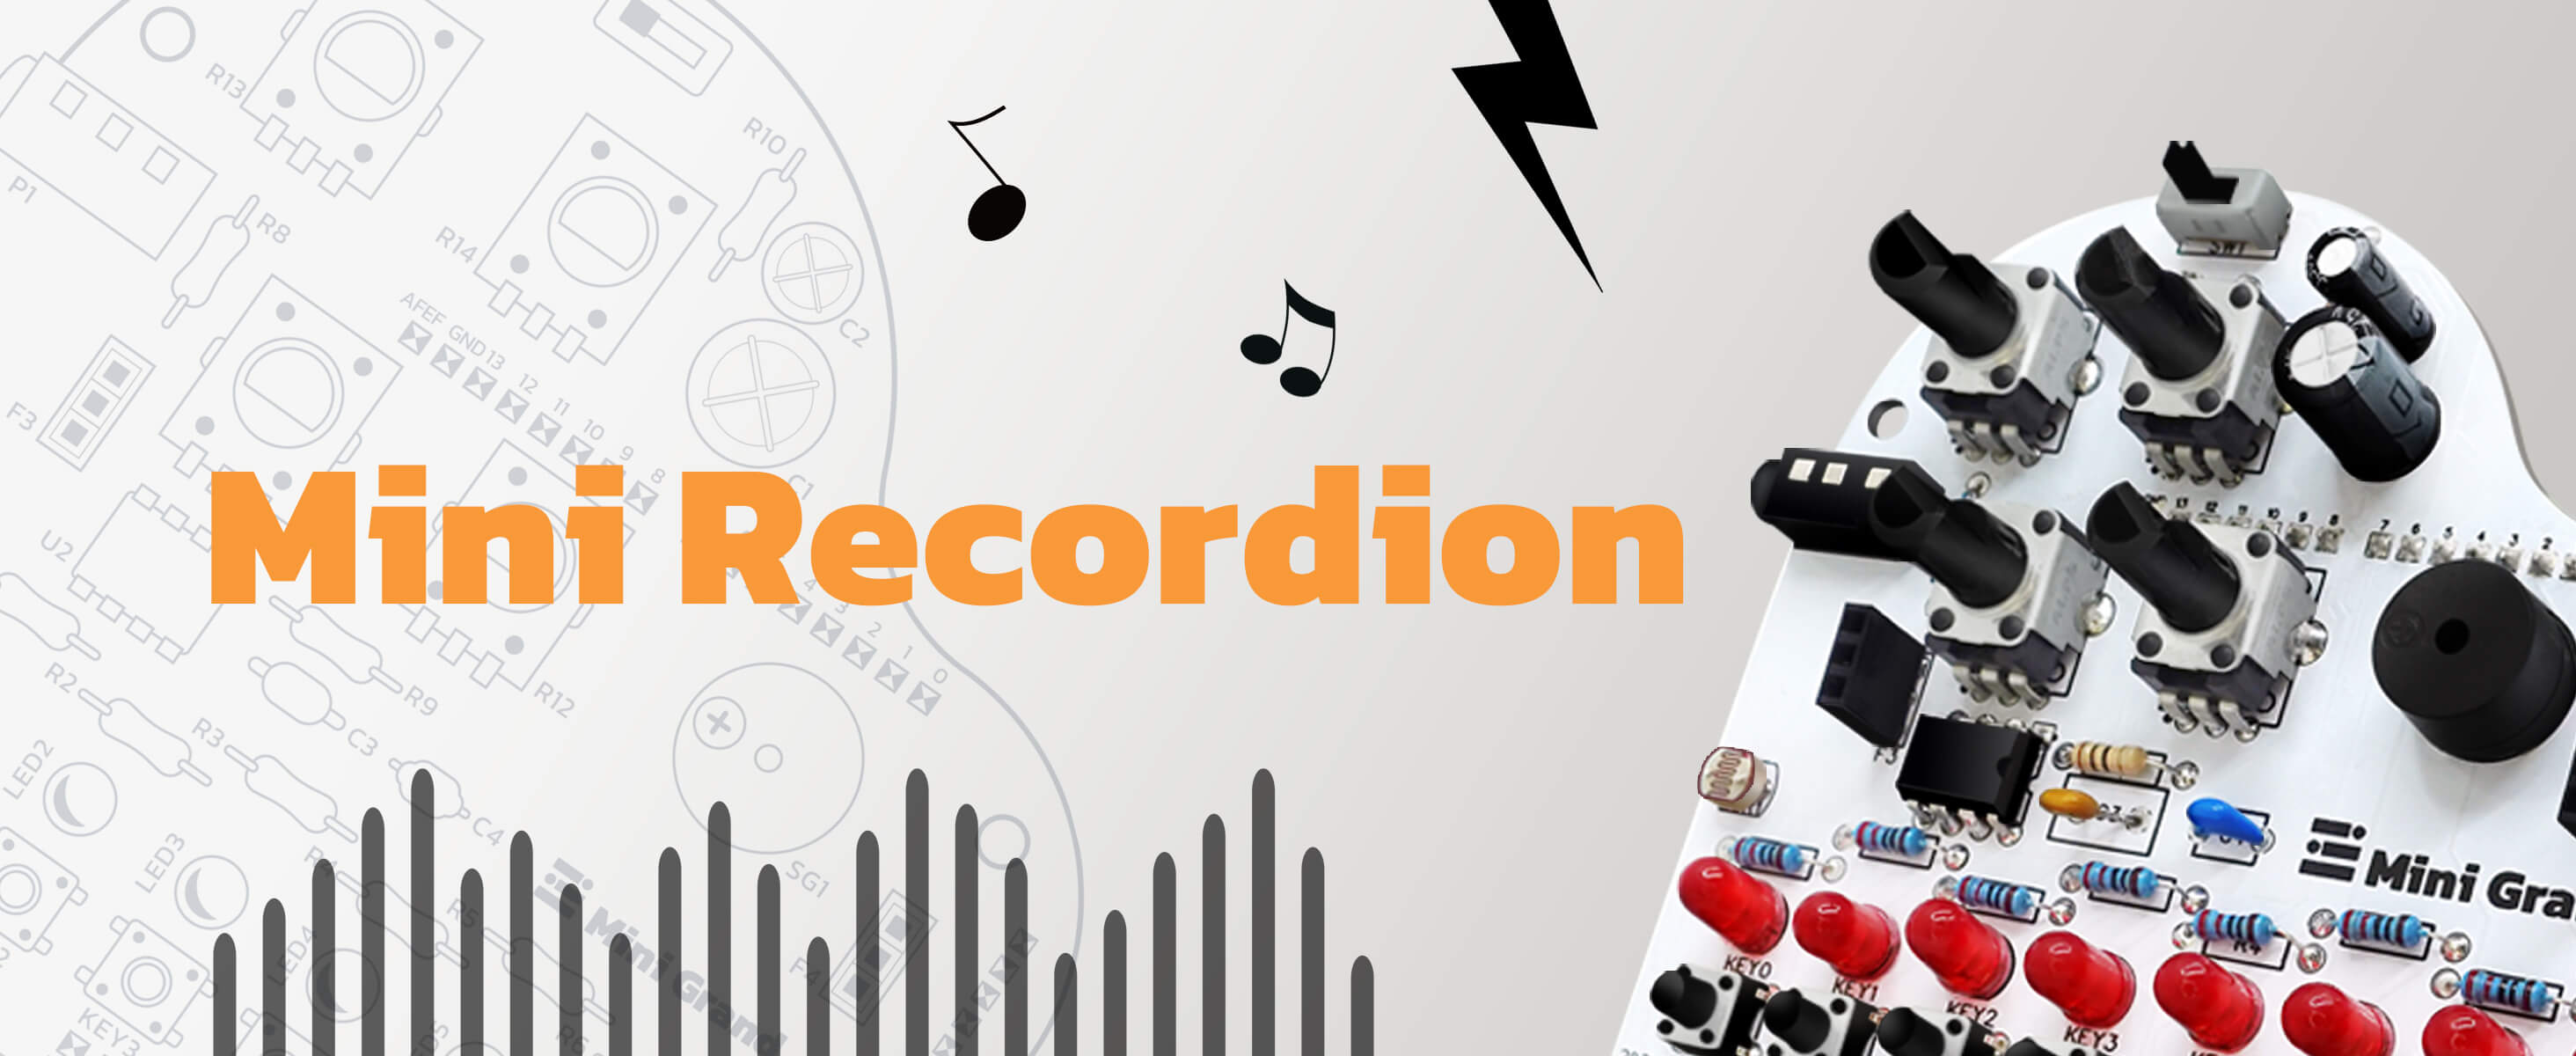
What it Does
This project transforms your Mini Grand piano into a digital recorder and player. By using RGB lights and pitch-shifting capabilities, you can turn your Mini Grand into an instrument that records your performances into memory banks.
Getting Started: Master Mode
When you first power on the piano after uploading the code, you start in Master Mode. You’ll know you’re there because most of the light strip will glow red, except for LED 5, which glows green. From here, you have two main paths: Free Play or Record.
Practice with Free Play Mode
If you want to warm up, press KEY 5 (the one under the green light) to enter Free Play Mode. This lets you play the piano normally to practice your skills. While in this mode, you can use the POT_A0 dial to adjust the pitch. When you are finished practicing and want to go back to the main menu, press KEY 6 and 7 together.
Recording Your Performance
To start recording a sample, press KEY 6 and 7 while in Master Mode. The recording doesn’t actually start until you hit your first note. The system tracks the notes you play, how long you hold them, and the pauses in between.
There are a few things to keep in mind while recording:
-
The Limit: Because of memory constraints, a single recording can have a maximum of 60 key presses. If you hit that limit, it stops automatically.
-
Stopping: When you’re done with your sample, press Keys 6 and 7 again to finish.
Managing Your Memory Banks
Once a recording is finished, you enter Bank Mode. The lights will change: LEDs 0–3 turn blue, LED 4 is purple, LED 5 is green, and LEDs 6–7 are red.
In this mode, the first four KEYs (0–3) represent your Memory Banks.
-
Blinking Red Key: The bank is empty.
-
Solid Red Key: A sample is already saved there.
To save your new recording, simply press the bank key where you want it to go. This will either fill an empty spot or overwrite what was already there.
Other Options in Bank Mode
Before you save, you have three other choices:
-
Listen: Press KEY 5 (green) to hear your performance.
-
Delete: Press KEY 4 (purple) to scrap the recording and start fresh.
-
Re-record: Press KEY 6 and 7 (red) to try the performance again immediately.
Playback
After you save a sample, you return to Master Mode. You will now see solid red lights on KEYs 0–3 indicating where your saved sounds are. You can now press those keys at any time to play your samples back like a sampler.


