

Section 1: Overview & How It Works
If you have ever wondered how an outdoor security light automatically knows when to turn on at dusk, you are already familiar with the work of a photoresistor. Often called a light-dependent resistor, this small but highly sensitive component acts as an eye for your electronic circuits. Its primary job is simple: it changes its electrical resistance based on the amount of light shining on its surface.

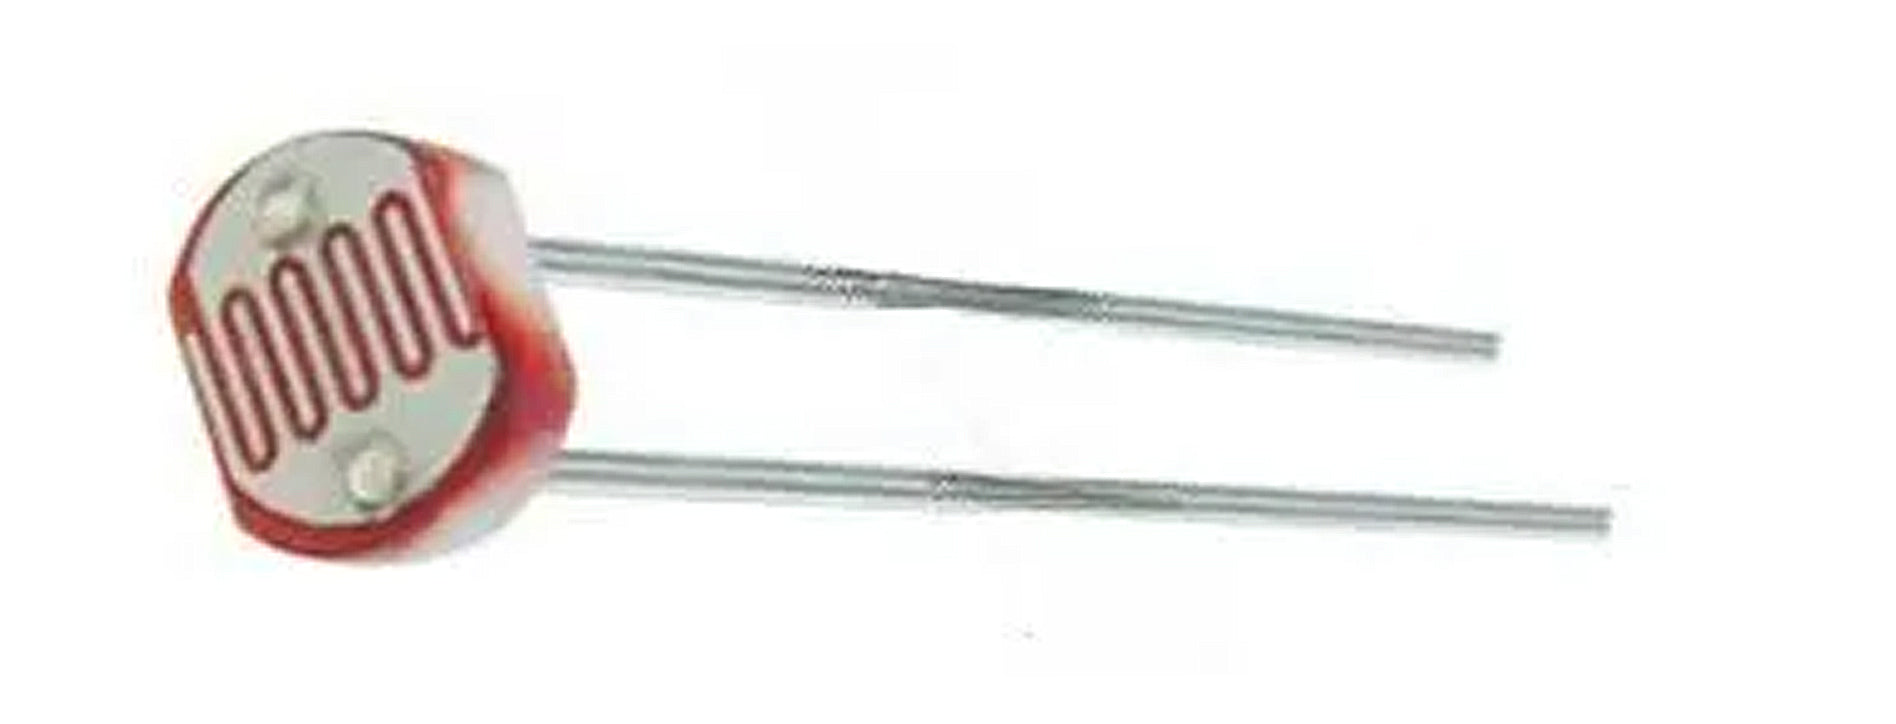
The physics behind it is elegant and straightforward enough for any maker to appreciate. The top face of the component features a squiggly track made of a specialized semi-conductive material, often Cadmium Sulfide. When darkness falls, the material holds onto its electrons tightly, creating high electrical resistance that makes it incredibly difficult for current to flow through. However, as bright light hits the surface, it transfers energy to those electrons, freeing them up to move. This causes the internal resistance to drop drastically, allowing electrical current to pass through with ease.
This responsive nature makes the component incredibly dependable across a wide range of environments. It can operate reliably in freezing conditions as low as -30°C and handle warm environments up to 70°C. Peak sensitivity typically aligns with light wavelengths around 540 nanometers, which closely matches the green-yellow light spectrum that human eyes see best. By translating environmental brightness directly into a variable electrical signal, it bridges the gap between the physical world and your electronic hardware.
Section 2: Real-World Use in Arduino Projects
For anyone diving into the Arduino ecosystem, the photoresistor is an absolute staple for interactive electronics. Because the microcontroller cannot read a shifting resistance directly, this component is typically paired with a fixed resistor to create a simple circuit called a voltage divider. This setup converts the changing resistance into a fluctuating voltage signal that your development board can easily interpret through an analog input pin.
This setup opens the door to countless beginner-friendly DIY projects centered around environmental awareness. A classic example is building an automatic nightlight or a smart desk lamp that brightens up smoothly as the room gets dark. By writing a few lines of C++ code in the Arduino IDE, you can instruct the board to monitor the incoming analog value and trigger a bright LED or a relay whenever the ambient light drops below a specific threshold.
Beyond simple lighting, these sensors are excellent for hands-on soldering practice kits aimed at building miniature solar trackers or laser-tripwire security alarms. Integrating light sensing into your builds is a fantastic milestone for any STEM or STEAM education initiative, as it beautifully demonstrates how hardware and coding interact to solve real-world problems. Whether you are assembling a basic hobby kit or designing a complex interactive installation, mastering this tiny powerhouse is a fundamental step in your journey as a creator.
See It in the Testudo Kit
Every component in this guide is part of the Testudo soldering practice kit — a hands-on way to learn electronics, soldering, and Arduino coding from the ground up.


