

Section 1: Overview & How It Works
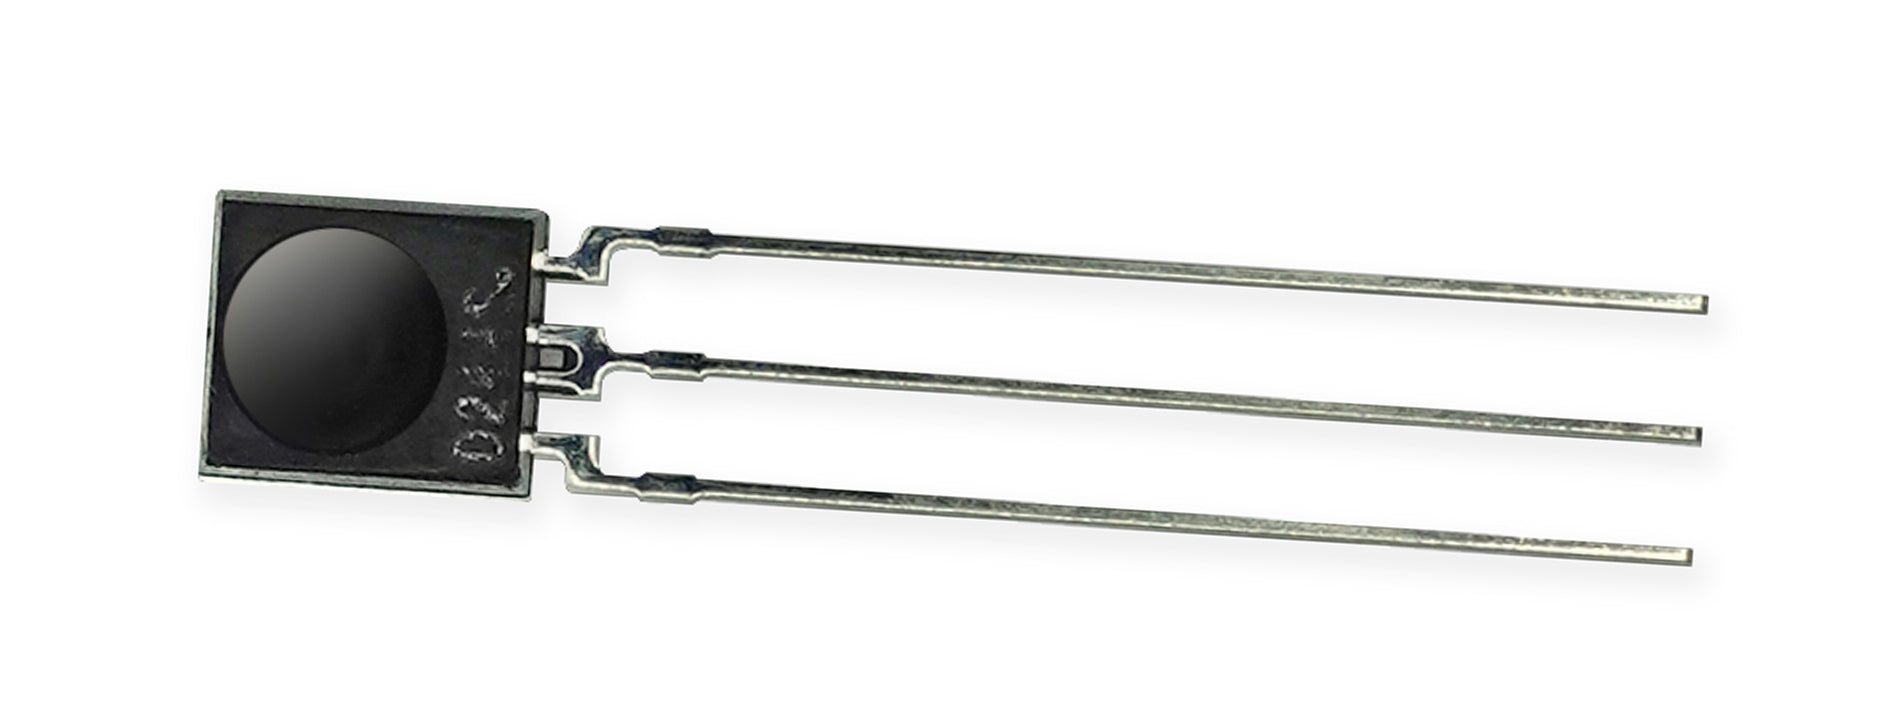
Have you ever wondered how your TV remote beams a command across the room instantly? The secret lies in a tiny, three-pinned component known as an infrared (IR) receiver. This clever piece of electronics acts as the "eyes" for your projects, listening specifically for invisible light signals.

At its core, the component houses a specialized internal integrated circuit designed to detect light in the infrared spectrum. To prevent everyday household lighting from confusing the sensor, the incoming light must be pulsed at a specific carrier frequency—typically 38 kHz. When the receiver catches this specific rapid pulsing, it filters out the background noise and translates the light bursts into clean electrical pulses.
Operating smoothly at low voltages ranging from 2.7 V to 5.5 V, this component is incredibly efficient for portable designs. It offers a wide acceptance angle of approximately ±35° and can detect signals from up to 15 meters away. This makes it highly reliable for capturing commands even if your alignment isn't perfectly precise.
Section 2: Real-World Use in Arduino Projects
For anyone diving into the maker movement, the IR receiver is a staple component for expanding control possibilities. It bridges the gap between hardware and user interaction, allowing you to interface physical builds with standard wireless remotes. It is a fantastic addition to any soldering practice kit because it teaches you how to handle three-pin components while unlocking massive functionality.
When integrated into the Arduino ecosystem, this component acts as a digital input sensor. It reads the incoming modulated light patterns and sends the corresponding binary data straight to your microcontroller for processing.
Here are a few practical, beginner-friendly project ideas to spark your creativity:
- Wireless Robot Navigation: Build a custom rover and steer it around your workshop using an old TV remote. Each button press sends a unique signal to the microcontroller, directing the motors to move forward, turn, or stop.
- Smart Home Automation Switch: Create a DIY relay control system that lets you toggle desk lamps, fans, or decorative electronics on and off from the comfort of your chair.
- Remote Media Controller: Interface the receiver with your computer via your code to pause, play, or skip tracks on your media player using a physical remote.
Mastering this component is an excellent milestone in your electronics journey. It provides a highly rewarding hardware experience that pairs perfectly with basic programming, making it a classic staple for STEM hobbyists and tinkerers alike.
See It in the Testudo Kit
Every component in this guide is part of the Testudo soldering practice kit — a hands-on way to learn electronics, soldering, and Arduino coding from the ground up.


