

Section 1: Overview & How It Works
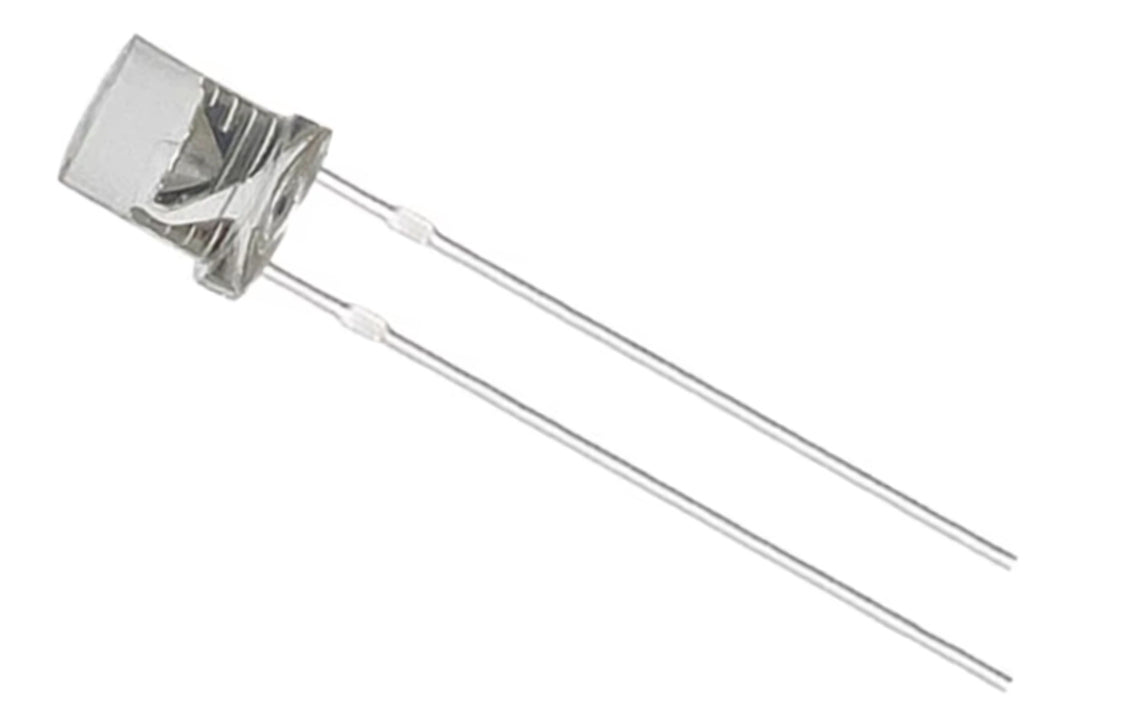
Have you ever wondered how your TV remote sends commands across the room without any wires? It all happens thanks to a clever piece of electronics called an Infrared (IR) Emitting Diode, or IR LED. While it looks just like a standard light-emitting diode you might find in a basic electronics hobby kit, it operates in a spectrum of light that is completely invisible to the human eye.

Instead of illuminating a room with visible light, this component acts as a tiny wireless transmitter. When an electrical current passes through the diode, it emits infrared light at a specific peak wavelength, typically around 850nm to 940nm. To capture this invisible data, the transmitter pairs up with a matching receiver, like a phototransistor or an IR sensor module, which listens for the signal and translates it into an electrical action.
Because they operate on low voltage and offer high reliability, these components are the backbone of modern wireless control. They allow different devices to communicate seamlessly over short distances without interfering with ambient visible light.
Section 2: Real-World Use in Arduino Projects
For any aspiring maker diving into the world of microcontrollers, mastering the IR LED opens up a massive realm of possibilities for automated, wireless interaction. It bridges the gap between hardware assembly and coding, making it a staple component in advanced STEM and STEAM education programs.
In the Arduino ecosystem, these diodes are frequently used to build custom remote control systems. By wiring an IR LED to a digital output pin and utilizing standard libraries in the Arduino IDE, you can replicate the exact signal configuration of almost any commercial remote control. This allows you to write simple C++ programs to turn your television on, control your stereos, or interface with smart appliances automatically.
Beyond simple remotes, these components are highly utilized in object detection and automation. For example, by placing an IR transmitter next to an IR photodiode, you can create an optoelectronic obstacle avoidance sensor. When an object moves close to the pair, the invisible light bounces off the object and reflects into the receiver. This exact mechanism is used by developers to build automated garage doors, smart proximity sensors, and line-following robots.
Integrating these components into a soldering practice kit is also an excellent way for beginners to upgrade their skills from basic circuitry to interactive design. Learning how to properly orient the positive and negative pins during soldering ensures your DIY project transmits perfectly, laying a solid foundation for your future journey in electronics.
See It in the Testudo Kit
Every component in this guide is part of the Testudo soldering practice kit — a hands-on way to learn electronics, soldering, and Arduino coding from the ground up.


