

Section 1: Overview & How It Works
Have you ever wondered how your favorite headphones plug into a device and instantly deliver crisp stereo sound? The magic happens inside a small but vital electronics component: the 3.5mm audio jack. This connector acts as a mechanical bridge, routing electrical audio signals from a circuit board directly to your speakers or headphones.

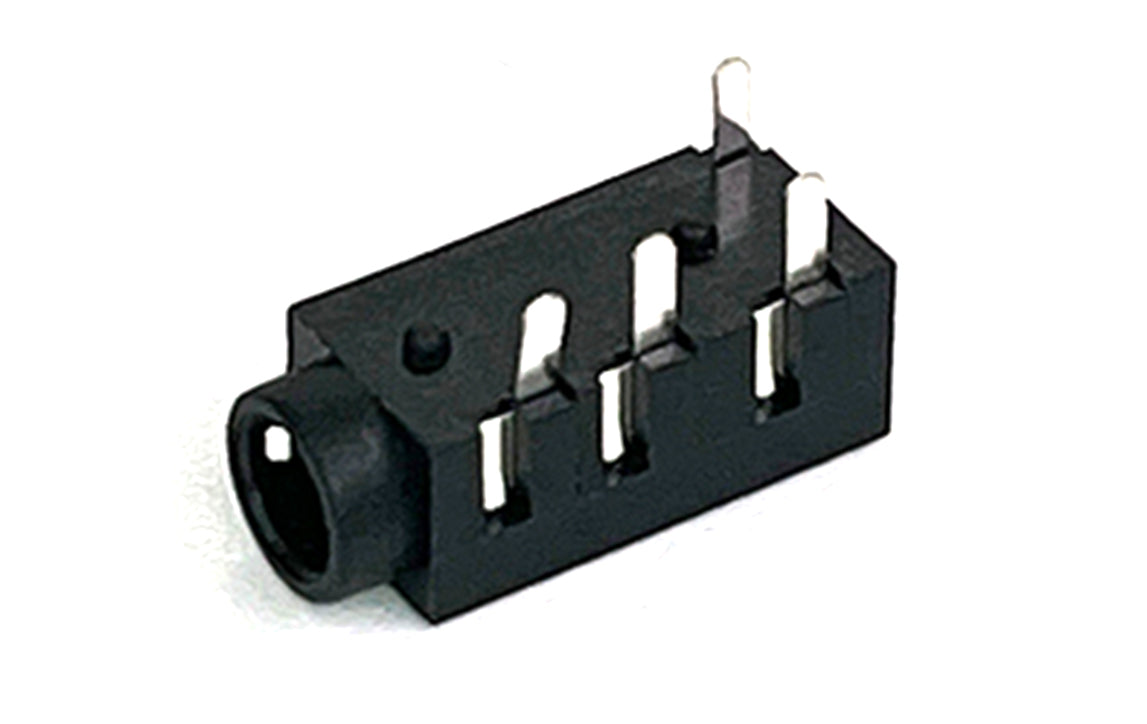
Inside the jack, small metal spring terminals are positioned to touch specific sections of an audio plug when it is inserted. As the plug slides in, it makes contact with these internal terminals, completing an electrical circuit. For standard stereo sound, different pins handle the left audio channel, the right audio channel, and the ground connection to prevent unwanted noise.
Many of these components also feature internal switches. When you insert a plug, it physically pushes a metal contact away from another, telling the device to mute the internal speakers and divert the sound entirely to your headphones. It is a simple, elegant piece of hardware engineering that requires no complex coding to function.
Section 2: Real-World Use in Arduino Projects
For anyone diving into the world of DIY electronics, the 3.5mm audio jack is a fantastic component to include in a soldering practice kit. Learning how to properly secure its small metal pins to a circuit board is excellent soldering practice for beginners. Once attached, it opens up a wide world of audio possibilities for your next maker project.
In the Arduino ecosystem, this component is commonly used to add sound effects, voice prompts, or musical notes to your creations. Because the microcontroller itself cannot drive large speakers directly, the audio jack serves as the perfect intermediate interface to send clean signals to external, powered speakers or headphones.
Here are two practical ways to use this component in your next hobby build:
- DIY Headphone Metronome: You can build a custom musician's metronome using an Arduino board and a small buzzer or wave shield. By routing the output through a 3.5mm audio jack, you can plug in earbuds and practice your rhythm quietly without disturbing anyone around you.
- Interactive Soundboard: By pairing a microSD card module with your microcontroller, you can store audio files and trigger them with physical buttons. Connecting an audio jack allows you to output high-quality sound effects for a custom video game controller, a holiday prop, or a STEAM classroom installation.
Integrating an audio jack is a beginner-friendly way to take your projects beyond simple blinking LEDs and move into the exciting realm of audio interaction.
See It in the Testudo Kit
Every component in this guide is part of the Testudo soldering practice kit — a hands-on way to learn electronics, soldering, and Arduino coding from the ground up.


