

Section 1: Overview & How It Works
If you have ever built an electronics project, you know how satisfying it is to make your creation interact with the physical world. While adding a flashing light is a classic choice, adding sound can truly bring your device to life. Enter the passive piezoelectric buzzer: a compact, highly efficient component capable of generating everything from basic alarm tones to custom musical melodies.

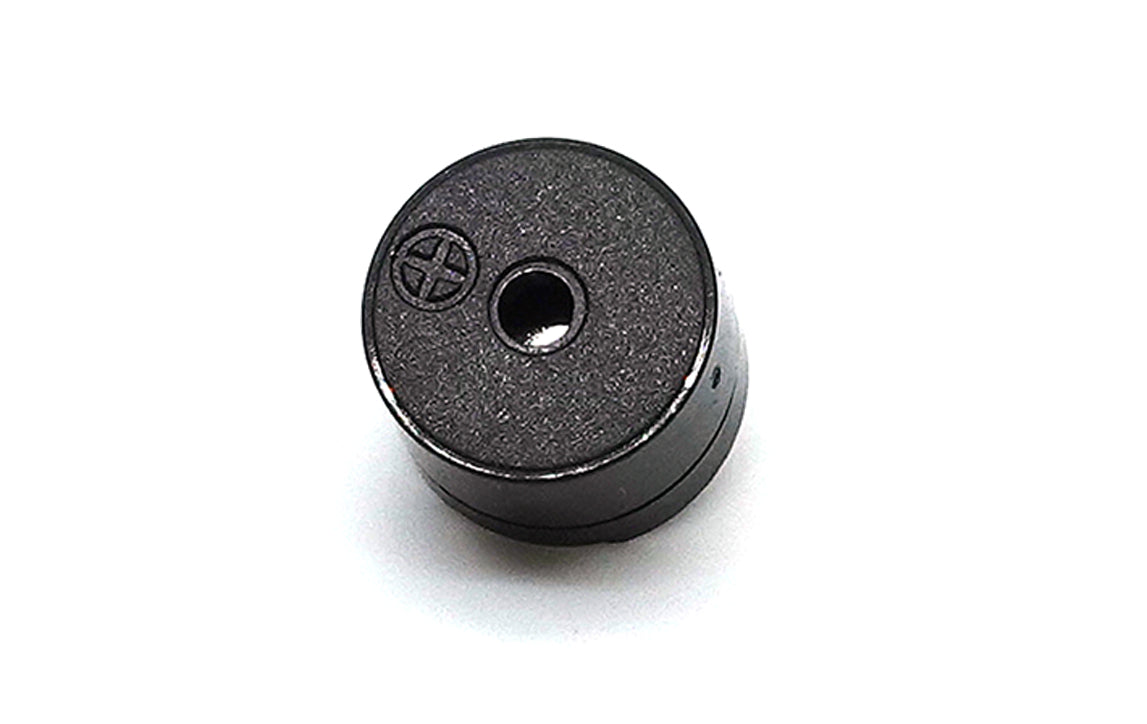
Unlike active alternatives that produce a single fixed sound when power is applied, a passive buzzer contains no internal oscillator circuit. This means it requires an external frequency source to flex its vocal cords. Inside its plastic casing sits a unimorph piezoelectric element, consisting of a thin ceramic material layered onto a metal disc.
When you introduce an alternating electrical current to this unique ceramic material, it physically deforms and bends back and forth. This rapid mechanical movement vibrates the surrounding air, converting electrical energy into audible sound waves. Because it handles the charging and discharging process with minimal resistance, it boasts incredibly low power consumption. To make it sing, all a maker needs to do is send a continuous stream of electrical pulses to vary the frequency.
Section 2: Real-World Use in Arduino Projects
In the wider electronics and DIY maker community, passive buzzers are widely popular for adding customized user feedback to projects. Because they are driven by external signals, they integrate perfectly with the pulse-width modulation capabilities of an Arduino board. By using straightforward programming commands to change the speed of the output pulses, you can easily shift pitches to create distinct notification sounds or even synthesize speech patterns.
Integrating a passive buzzer into your next DIY soldering practice kit opens up a wide range of practical applications. For example, you can build an interactive digital kitchen timer where the buzzer emits a steady sequence of high-pressure warning beeps once a countdown reaches zero. Another classic project combines the buzzer with an ultrasonic distance sensor, creating a reverse-parking guide that outputs increasingly rapid chirps as an object gets closer.
Getting your buzzer up and running on a breadboard or custom circuit requires very little hardware. By incorporating a small resistor to help manage the rapid charging and discharging of the element, you ensure your circuit runs safely and efficiently. Whether you are looking to master basic soldering or trying to build an advanced home alert system, this versatile audio component is the perfect addition to your maker toolkit.
See It in the Testudo Kit
Every component in this guide is part of the Testudo soldering practice kit — a hands-on way to learn electronics, soldering, and Arduino coding from the ground up.


