

Section 1: Overview & How It Works
Have you ever wondered how a tiny gadget converts a faint electrical signal into sound you can actually hear? Enter the audio power amplifier, a staple component in the world of beginner-friendly electronics. Its primary job is to take low-power audio signals—like those from a microphone or a media player—and boost them enough to drive a speaker.

At its core, this integrated circuit functions like an electronic multiplier. When a weak audio voltage enters the input, the internal circuitry utilizes a separate power supply to duplicate the waveform on a much larger scale. It achieves this with minimal distortion and requires very few external components to operate, making it highly efficient.
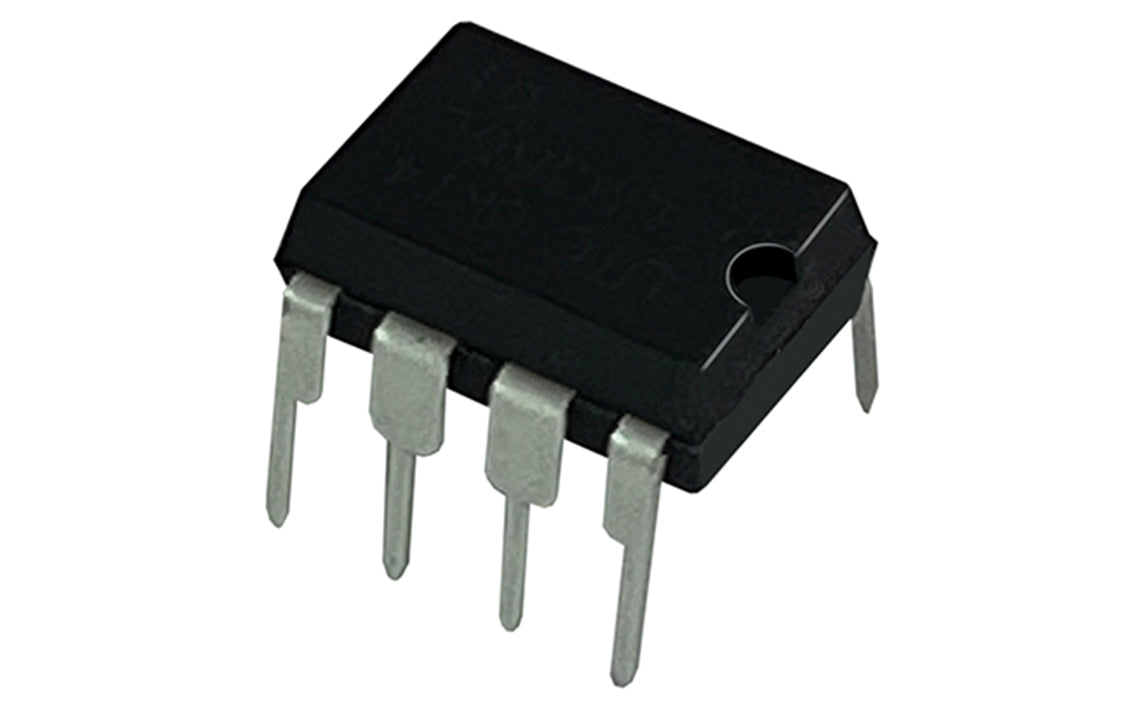
For those practicing their soldering, the physical package of the component matters immensely. In most beginner-friendly kits, you will find the dual in-line package, commonly known as the DIP version. This is a through-hole technology (THT) component featuring long metal pins that push directly through holes in a printed circuit board, unlike tiny surface-mount technology (SMT) variations that sit flat on top of the board. The THT configuration makes it exceptionally easy to position, hold, and secure when completing your first DIY soldering practice kit.
Section 2: Real-World Use in Arduino Projects
In the broader maker ecosystem, these low-voltage amplifiers act as the voice for your programming projects. While an Arduino microcontroller is excellent at handling data and executing code, its hardware pins cannot output enough current to drive a standard speaker directly. By placing an audio power amplifier between your development board and a speaker, you bridge that gap safely without overloading your microcontroller.
Integrating this component unlocks a wide array of interactive, sensory DIY builds. For example, you can build a portable handheld synth where a potentiometer adjusts audio frequencies processed by the microcontroller, which are then boosted by the amplifier into a crisp audial output.
Another popular hobby implementation is an automated alert system. You can program a distance sensor to detect motion; when triggered, the hardware signals the amplifier to play a warning chime through a speaker. This makes the component a foundational tool for anyone exploring STEM or STEAM educational projects.
See It in the Testudo Kit
Every component in this guide is part of the Testudo soldering practice kit — a hands-on way to learn electronics, soldering, and Arduino coding from the ground up.


